
Last updated: July 24, 2026
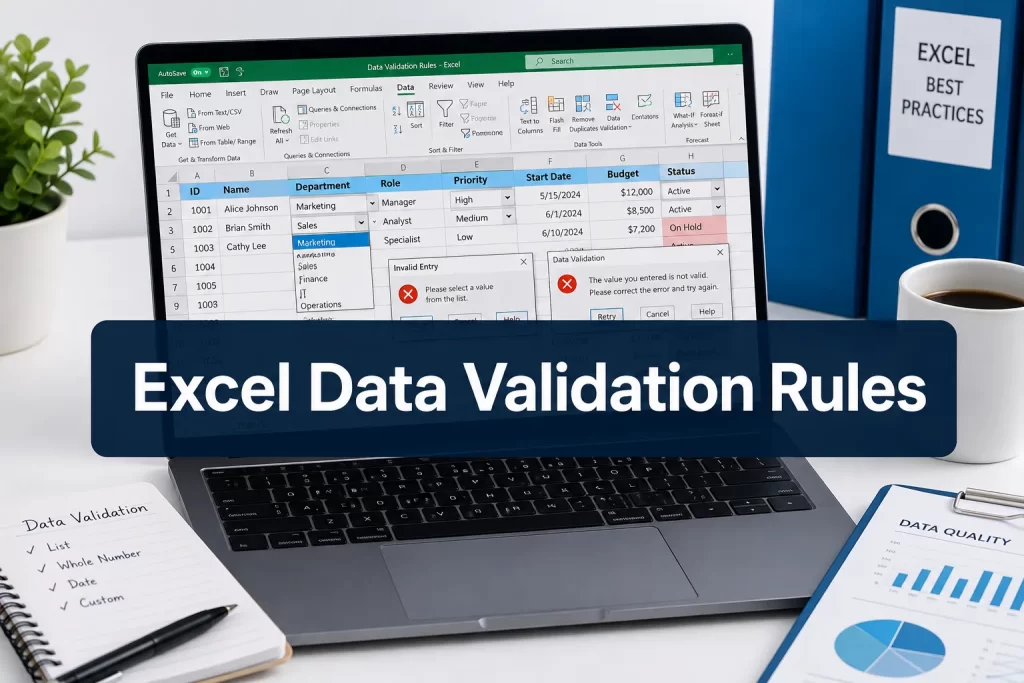
Quick Answer: Excel data validation rules let you control exactly what data gets entered into a cell, numbers only, dates within a range, items from a list, or values that pass a custom formula. Setting them up takes under two minutes per cell range, costs nothing extra (it’s built into Excel), and prevents the kind of bad input that silently corrupts formulas, pivot tables, and dashboards downstream.
Key Takeaways
- Excel data validation rules are built into every version of Excel, no add-ins or extra cost required.
- You can restrict cells to whole numbers, decimals, dates, times, text length, list items, or any custom formula result. [1]
- Dropdown lists are the most popular validation type and take about 60 seconds to create.
- Validation rules show a custom error message when someone enters bad data, so users know exactly what went wrong.
- Copying and pasting data can bypass validation, this is the most common gap people miss.
- Custom formula-based validation is the most powerful type, letting you cross-reference other cells.
- Validation does not reformat or color cells, pair it with conditional formatting if you want visual flags too.
- Anyone building shared workbooks, data entry forms, or business dashboards should use data validation.
What Is Data Validation in Excel and Why Do You Need It?
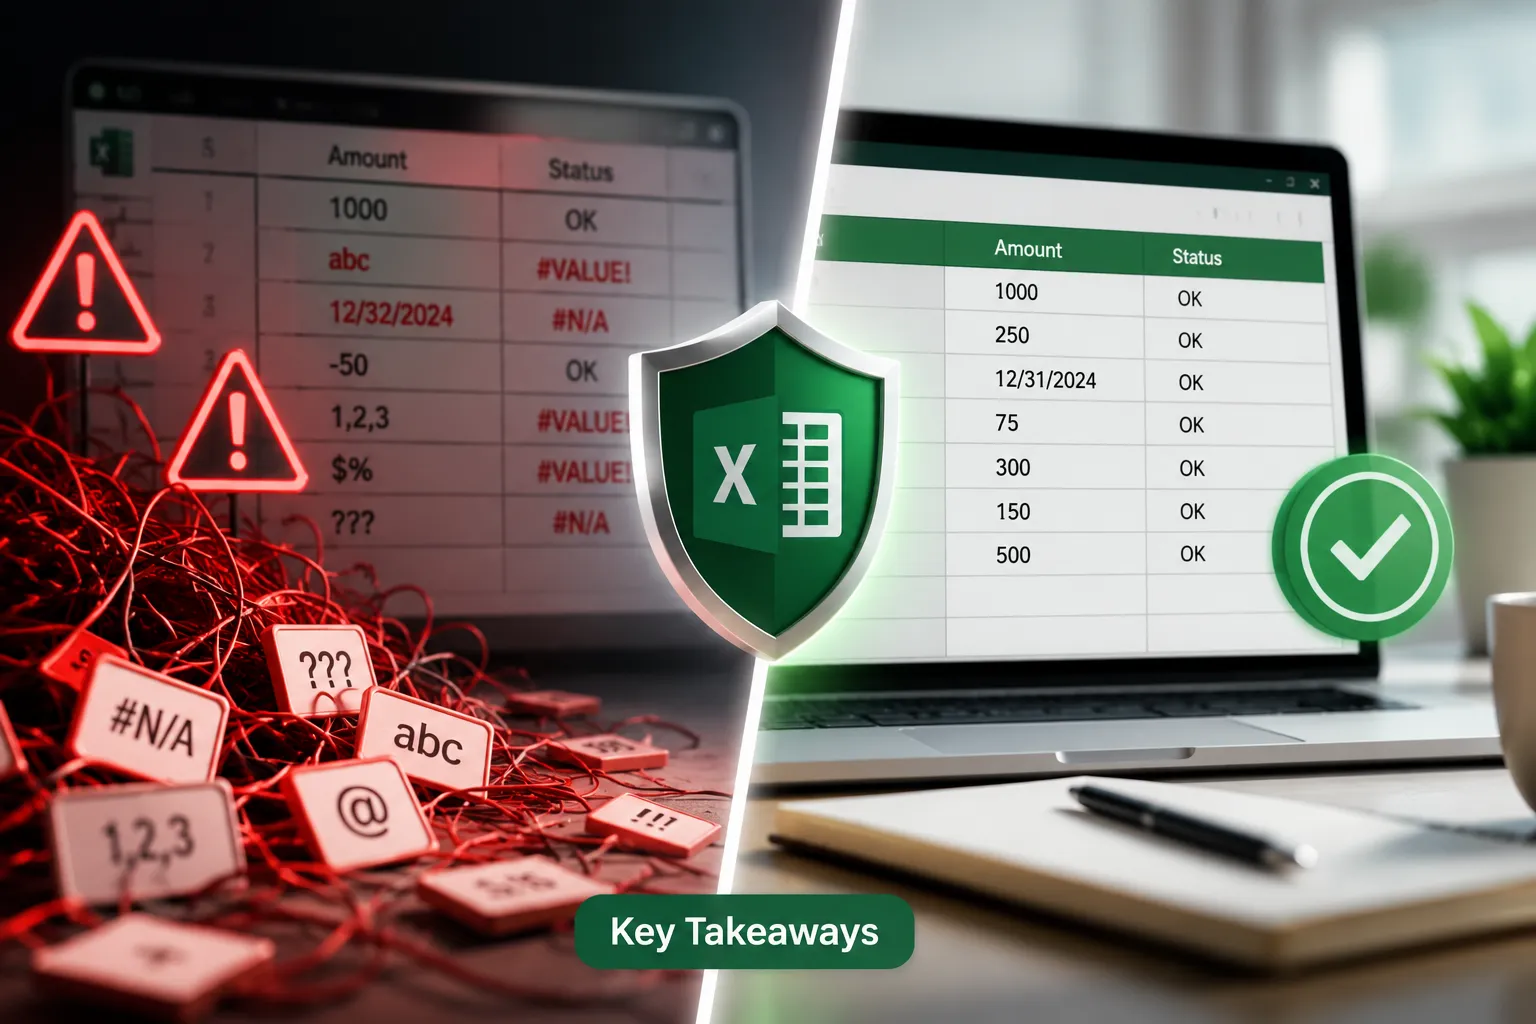
Data validation in Excel is a feature that restricts what a user can type into a cell. Instead of hoping people enter the right format, you define the rules upfront, and Excel enforces them automatically. [2]
Without it, one person types “Jan” where a formula expects “January,” and every SUMIF downstream returns zero. Another person enters a date as text, and your pivot table stops grouping by month. These errors are hard to spot and expensive to fix after the fact. Excel data validation rules: stop bad inputs before they break your formulas or dashboards is exactly what this feature is designed to do, catch problems at the source, not after the damage is done. [6]
Who needs it most:
- Anyone building shared workbooks where multiple people enter data
- Finance and operations teams using Excel as a lightweight database
- Anyone whose formulas depend on consistent input formats
For a broader look at building formula-driven workbooks, see Spreadsheet Formulas for Advanced Users.
How Do I Set Up Data Validation Rules in Excel Step by Step?
Setting up data validation takes less than two minutes. Here’s the exact process: [2]
- Select the cell or range you want to protect (e.g., B2:B100).
- Go to the Data tab on the ribbon.
- Click Data Validation (in the Data Tools group).
- In the Settings tab, choose your validation type from the “Allow” dropdown.
- Set your criteria (e.g., whole number between 1 and 100).
- Switch to the Input Message tab to add a helpful prompt that appears when someone clicks the cell.
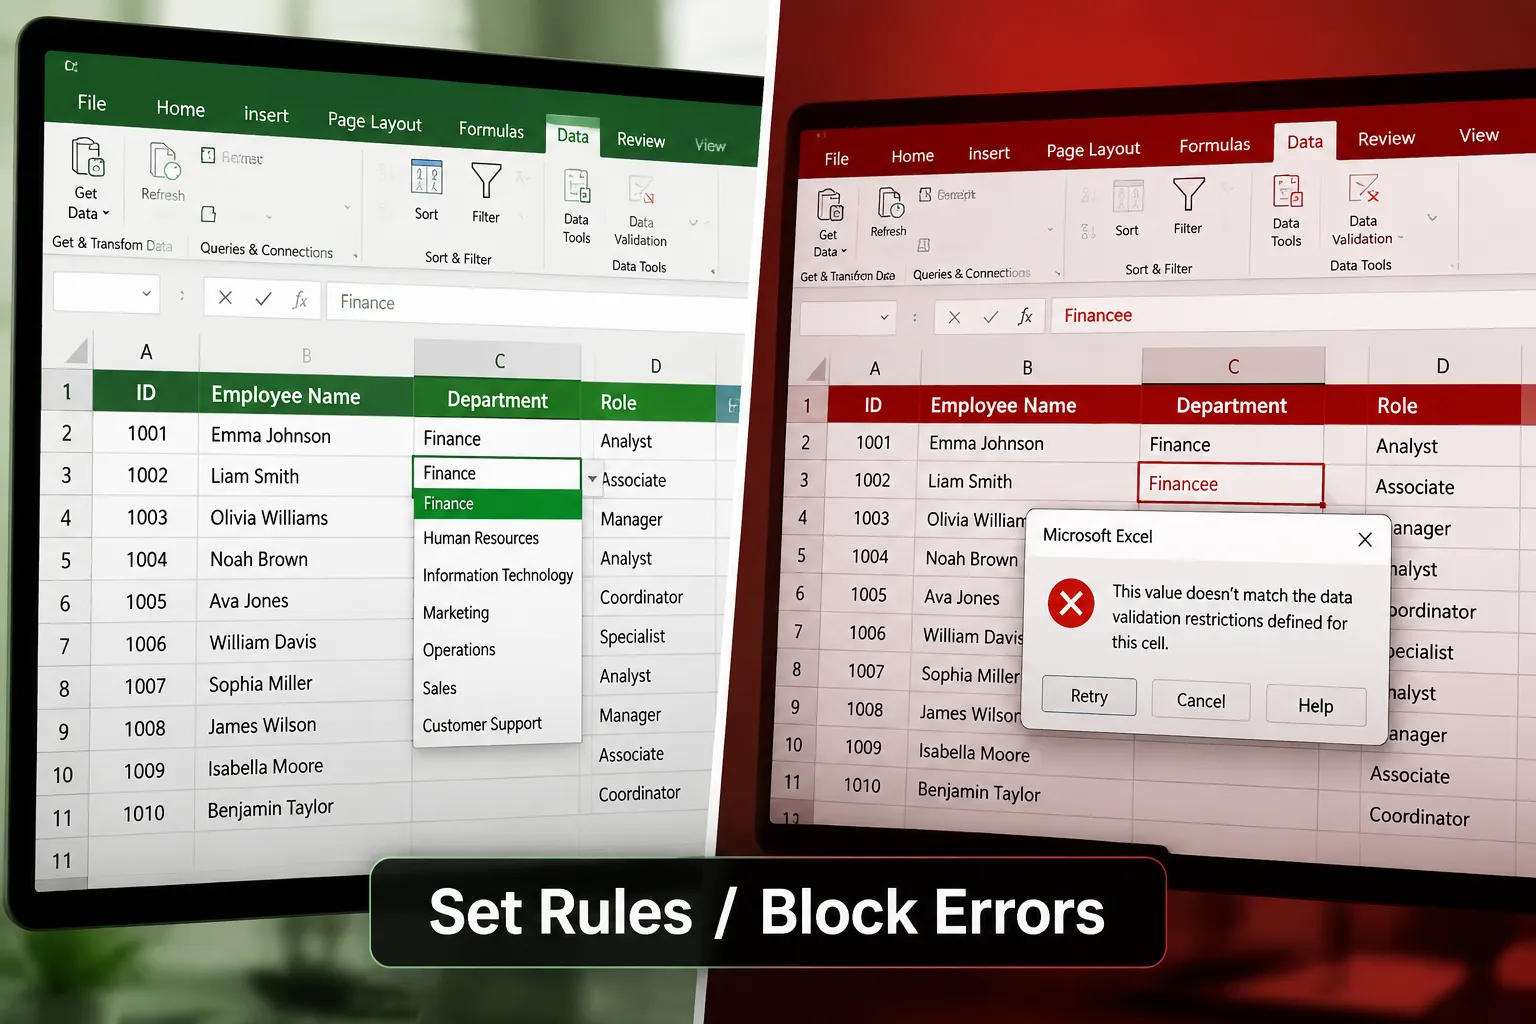
- Switch to the Error Alert tab to write a clear error message and choose the alert style (Stop, Warning, or Information).
- Click OK.
Three alert styles explained:
| Style | What it does |
|---|---|
| Stop | Blocks the entry entirely, the user must fix it |
| Warning | Warns the user but allows them to proceed |
| Information | Shows a note but accepts any input |
For most shared workbooks, use Stop so bad data never gets in. [5]
What Types of Data Validation Can You Use in Excel?
Excel offers eight built-in validation types, plus a custom formula option. [1]
- Whole Number, only integers, within a range you set
- Decimal, numbers with decimals, within a range
- List, items from a dropdown (most commonly used)
- Date, dates within a start/end range
- Time, times within a window
- Text Length, limit how many characters someone can type
- Custom, any formula that returns TRUE (valid) or FALSE (invalid)
- Any Value, removes restrictions (useful for resetting)
Choose the type based on your use case:
- Budget entry fields → Decimal, greater than 0
- Status columns → List (e.g., Open, In Progress, Closed)
- Employee ID fields → Text Length, exactly 6 characters
- Order date columns → Date, between your project start and today
How Much Does Excel Data Validation Cost?
Data validation is a built-in Excel feature, it costs nothing beyond your existing Excel license. [2] There are no add-ins to purchase, no premium tiers to unlock, and no configuration required outside the standard Data tab.
If you’re using Excel through Microsoft 365, the feature is fully available on desktop (Windows and Mac). Basic validation also works in the Excel mobile app, though the setup interface is easier on desktop. For a comparison of Excel and Google Sheets validation capabilities, see Excel vs Google Sheets: Which Spreadsheet Tool Is Better for Your Workflow?
Can You Use Data Validation with Formulas in Excel?
Yes, and this is where data validation becomes genuinely powerful. The “Custom” validation type accepts any formula that evaluates to TRUE or FALSE. [3]
Practical formula-based validation examples:
- Prevent duplicates:
=COUNTIF($A$2:$A$100,A2)=1, rejects a value if it already exists in the column. - Require a value in another cell first:
=B2<>"", only allows entry in C2 if B2 is not blank. - Enforce a text pattern:
=LEFT(A2,2)="TX", requires entries to start with “TX.” - Cross-reference a range:
=ISNUMBER(MATCH(A2,ValidCodes,0)), checks against a named range of valid codes.
💡 Pro tip: Custom formula validation uses the formula logic of the first cell in your selected range. If you select B2:B50 and write
=COUNTIF($A$2:$A$100,B2)=1, Excel automatically adjusts the relative reference for each row.
For more on building formula logic, see how to use Excel with formulas and the guide on SUMIF, COUNTIF, and Beyond.
What’s the Difference Between Data Validation and Conditional Formatting?
These two features are often confused, but they do completely different jobs. Data validation controls what can be entered. Conditional formatting changes how a cell looks based on its value. [5]
- Validation stops bad input from being saved (with a Stop alert).
- Conditional formatting highlights cells after the fact, it doesn’t block anything.
Use them together for the best result: Set a validation rule to block out-of-range numbers, then add a conditional formatting traffic light to visually flag values that are approaching a threshold.
Common mistake: Relying on conditional formatting alone to catch errors. It flags problems visually, but it doesn’t stop them from entering the sheet or breaking formulas.
How Do You Create a Dropdown List with Data Validation?
A dropdown list is the most practical and user-friendly validation type. It takes about 60 seconds to set up. [8]
Method 1, Type the list directly:
- Select your target cell(s).
- Data → Data Validation → Allow: List.
- In the Source field, type your items separated by commas:
Open,In Progress,Closed - Click OK.
Method 2, Reference a range (recommended for longer lists):
- Type your list items in a separate column (e.g., a “Lists” sheet).
- In the Source field, select that range:
=Lists!$A$2:$A$10 - Click OK.
Method 2 is better for shared workbooks because you can update the list in one place and all validated cells update automatically. For a deeper dive, see the full guide on how to create a drop down list in Excel.
What Happens If Someone Copies Data into a Validated Cell?
This is the most important limitation to understand: pasting data into a validated cell can bypass the validation rule entirely. [5]
When a user copies a cell from elsewhere and pastes it with Ctrl+V, Excel pastes the value and overwrites the validation. The Stop alert does not trigger for paste operations in most Excel versions.
How to reduce this risk:
- Use Paste Special → Values Only (Ctrl+Shift+V) in your team’s data entry procedures.
- Protect the sheet with a password and only unlock specific input cells, see How to Lock Cells in Excel for the step-by-step process.
- Run a periodic audit: Data → Data Validation → Circle Invalid Data to highlight any cells that currently violate their own rules.
Can You Use Data Validation to Prevent Blank Cells?
Yes. Check the “Ignore blank” checkbox behavior carefully, it’s on by default, which means blank entries are allowed even when you’ve set a rule. [1]
To require a value (no blanks allowed):
- Use a Custom formula:
=LEN(TRIM(A2))>0 - Or uncheck “Ignore blank” in the Settings tab, which forces the user to enter something before moving on.
For forms where every field matters, expense reports, inventory logs, order entry sheets, turning off “Ignore blank” is a simple way to enforce completeness.
Is Data Validation Better Than Using IF Statements to Catch Errors?
They solve different problems, and the best workbooks use both. Data validation prevents bad data from entering a cell. IF statements (or IFERROR) catch errors after data is already in the sheet. [6]
- Validation: Proactive. Stops the problem at entry.
- IF/IFERROR: Reactive. Handles bad data that already exists.
Use validation on input cells. Use IFERROR and IF logic in your formula cells as a second layer of defense. If you’re building formula-heavy sheets, the guide on Excel Named Ranges pairs well with validation to keep your logic readable.
Who Should Be Using Excel Data Validation in Their Workflow?
Anyone who shares an Excel file with at least one other person should use data validation. More specifically: [6]
- Finance teams building budget trackers or expense forms
- Operations managers running inventory or order logs
- HR teams managing employee data entry
- Project managers using Excel for task tracking
- Small business owners using Excel as a lightweight database
If you’re building dashboards from raw data, validation on the input sheet is the single highest-leverage thing you can do to keep your charts and pivot tables accurate. See Excel Pivot Tables for 2026 for how clean input data improves pivot table reliability.
Common Mistakes People Make with Excel Data Validation
Even experienced users run into these: [5][6]
- Not writing an error message, Excel shows a generic alert that confuses users. Always write a clear, specific message (e.g., “Enter a date between 01/01/2026 and 12/31/2026”).
- Forgetting that paste bypasses validation, covered above, but it catches teams off guard repeatedly.
- Using a hardcoded list instead of a range reference, makes the list hard to update later.
- Applying validation after data already exists, old invalid data stays in place. Use Circle Invalid Data to find it.
- Not locking the sheet, validation rules can be deleted by any user who opens the file unless the sheet is protected.
- Using Warning instead of Stop for critical fields, Warning lets users override the rule, which defeats the purpose on mandatory fields.
Why Is My Data Validation Not Working in Excel?
The most common reasons validation seems to fail: [5]
- Data was pasted in, paste bypasses Stop alerts (see above).
- The sheet is not protected, users may have accidentally deleted the rule.
- “Ignore blank” is checked, blanks are being allowed unintentionally.
- The formula in a Custom rule has an error, a formula that returns an error (not FALSE) often allows any input through.
- The wrong cell range was selected, validation was applied to A2:A10 but data is being entered in A11.
Quick fix: Select the problem cell, go to Data → Data Validation, and check what rule (if any) is currently applied. If it shows “Any value,” the rule was overwritten.
How Do You Remove or Edit Data Validation Rules Already Created?
Editing or removing validation is straightforward: [2]
- Select the cell(s) with the rule.
- Go to Data → Data Validation.
- To edit: change the settings and click OK.
- To remove: click the Clear All button in the bottom-left of the dialog, then OK.
To find all validated cells in a sheet:
- Press Ctrl+G → Special → Data Validation → All. This selects every cell with a validation rule, so you can review or bulk-edit them.
If you want to copy a validation rule to other cells without copying the cell content, use Paste Special → Validation (Alt+E+S+N on Windows).
Conclusion
Excel data validation rules are one of the most underused features in everyday spreadsheet work, and one of the most impactful. A few minutes of setup on your input cells can save hours of debugging downstream when formulas return wrong results or dashboards show garbage data.
Actionable next steps:
- Open your most-shared workbook and identify the three columns most likely to receive inconsistent input.
- Apply a List or Whole Number validation rule to each one today.
- Write a clear error message for each rule so collaborators know exactly what’s expected.
- Protect the sheet with a password to prevent rules from being accidentally deleted.
- Run Circle Invalid Data (Data → Data Validation → Circle Invalid Data) to find any existing bad entries.
Start small, protect the inputs that matter most, and build from there. For more on building reliable, formula-driven workbooks, explore how to use Excel for data entry and Excel Power Query for Data Cleaning to handle data that arrives already messy.
FAQ
Q: Does data validation work in Excel Online? A: Basic validation (lists, number ranges, dates) works in Excel Online. Custom formula validation has some limitations in the browser version, test your rules before sharing a web-based workbook.
Q: Can I apply data validation to an entire column? A: Yes. Click the column header to select the whole column, then apply validation. Be aware this can slow down very large files, selecting A2:A10000 is more efficient than the entire column.
Q: Does data validation work with Excel Tables? A: Yes, and it works well. When you add a new row to an Excel Table, validation rules applied to the column extend automatically to the new row.
Q: Can I have two different validation rules on the same cell?
A: No. Each cell can only have one validation rule. Use a Custom formula to combine multiple conditions into a single rule (e.g., =AND(A2>0,A2<1000)).
Q: Will data validation slow down my Excel file? A: Simple validation (lists, number ranges) has no noticeable performance impact. Complex Custom formulas applied to thousands of cells can add minor recalculation overhead, but it’s rarely a practical issue.
Q: Can I use data validation to restrict input based on another cell’s value?
A: Yes, use a Custom formula that references another cell. For example, =A2="Yes" in B2’s validation means B2 only accepts input when A2 contains “Yes.” [7]
Q: How do I copy validation rules to another sheet? A: Copy the validated cell, go to the destination, use Paste Special (Ctrl+Alt+V) and select “Validation.” This transfers only the rule, not the cell content.
Q: Can data validation prevent someone from entering a duplicate value?
A: Yes. Use a Custom formula: =COUNTIF($A$2:$A$100,A2)=1. This rejects any entry that already exists in the range. [3]
Q: Does data validation work on Mac Excel? A: Yes. The feature is fully available in Excel for Mac. The menu path is the same: Data → Data Validation.
Q: What’s the maximum number of items in a dropdown list? A: If you type items directly in the Source field, the total string length limit is 255 characters. If you reference a range, the practical limit is much higher, Excel supports lists of thousands of items referenced from a range. [8]
References
[1] More On Data Validation – https://support.microsoft.com/en-us/excel/more-on-data-validation?utm_source=openai
[2] Apply Data Validation To Cells – https://support.microsoft.com/en-US/Excel/get-started/apply-data-validation-to-cells?utm_source=openai
[3] Data Validation – https://logicexcel.com/tutorials/data-validation?utm_source=openai
[5] Excel Data Validation Guide – https://exceljet.net/articles/excel-data-validation-guide?utm_source=openai
[6] Excel Data Validation How To Ensure Accurate Data Entry – https://www.exceldelta.com/tutorials/excel-data-validation-how-to-ensure-accurate-data-entry?utm_source=openai
[7] Excel Data Validation Rules – https://learn.microsoft.com/en-us/answers/questions/2168517/excel-data-validation-rules?utm_source=openai
[8] Add Or Remove Items From A Drop Down List – https://support.microsoft.com/en-us/excel/add-or-remove-items-from-a-drop-down-list?utm_source=openai