
Click here to view our video tutorial.
Click here to download our PDF tutorial.
Hello, and welcome to Mark’s Excel Tips. Today, I will show you how to create a Phases Of The Moon Calendar, in Excel 365. Let’s get started.
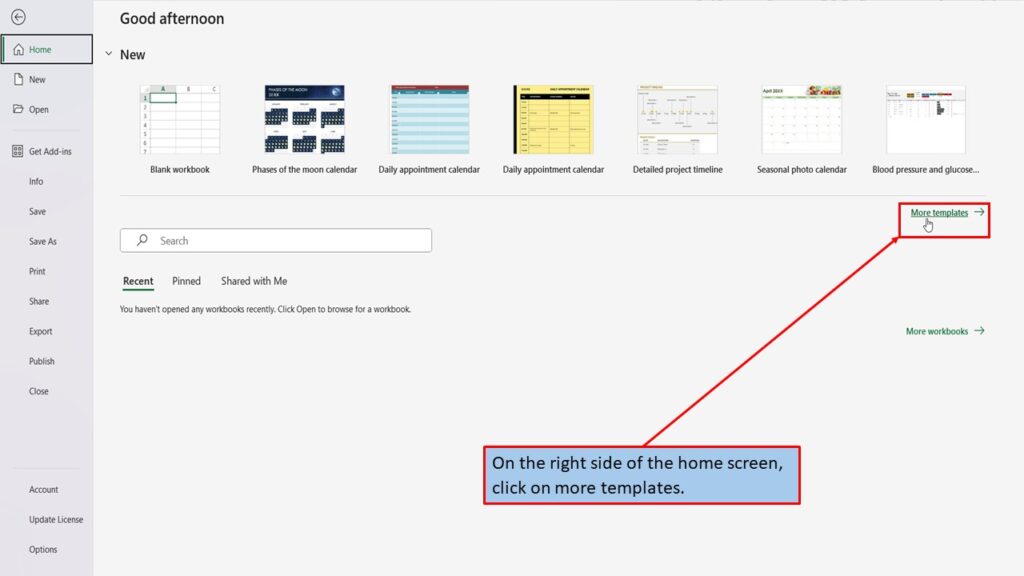
To start, click on File.

On the right side of the home screen, click on more templates.
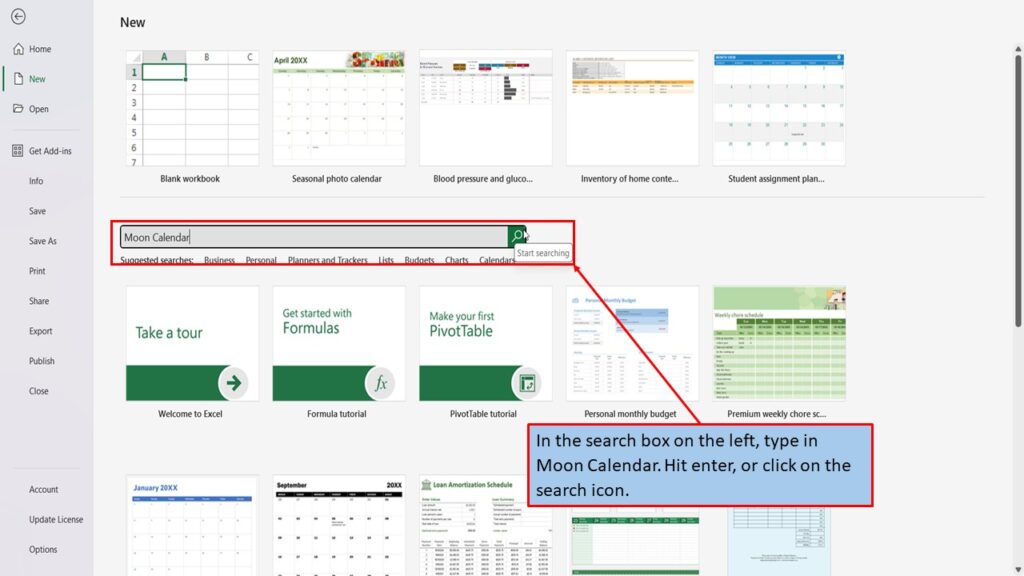
In the search box on the left, type in Moon Calendar. Hit enter, or click on the search icon.
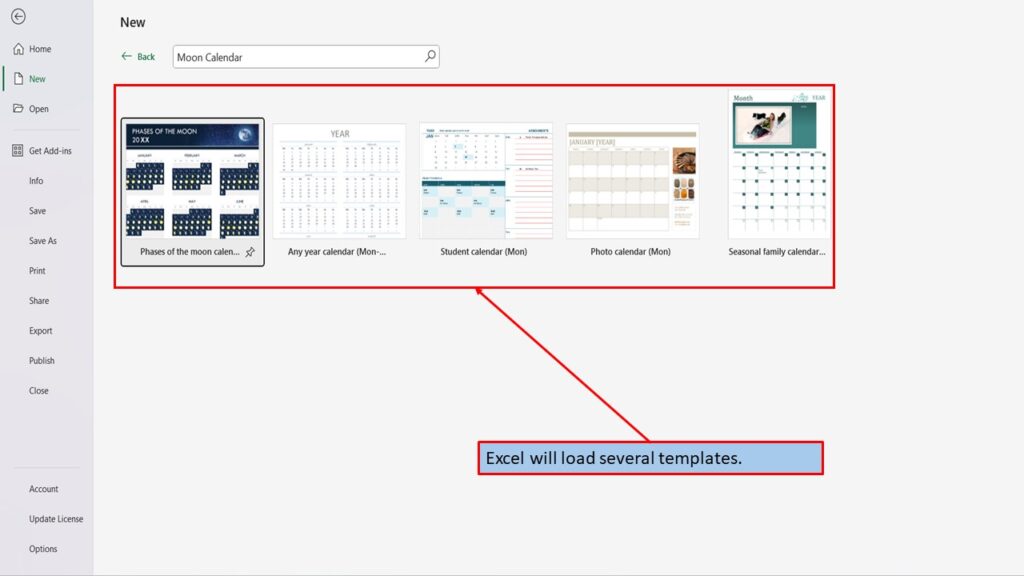
Excel will load several templates.
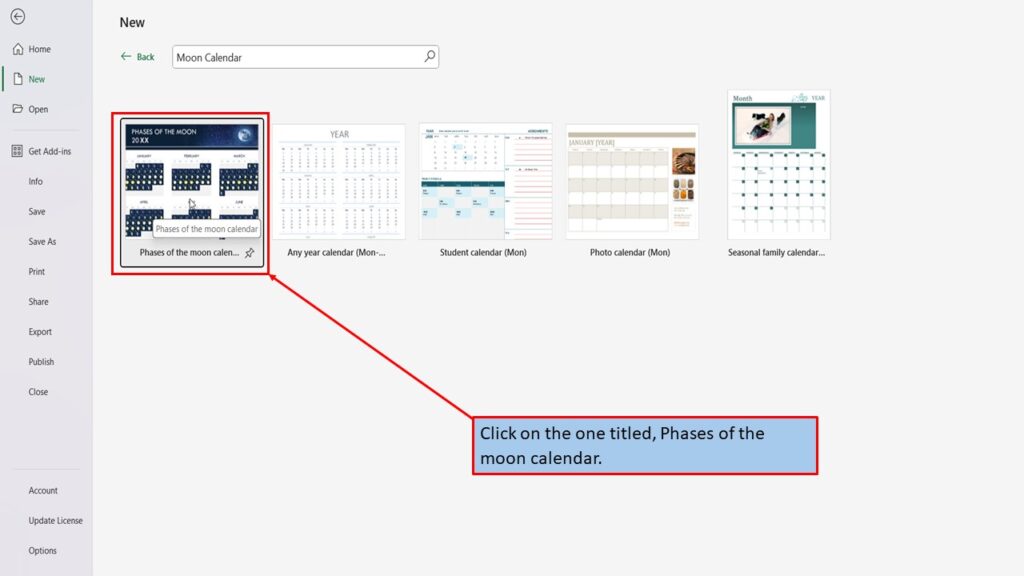
Click on the one titled, Phases of the moon calendar.
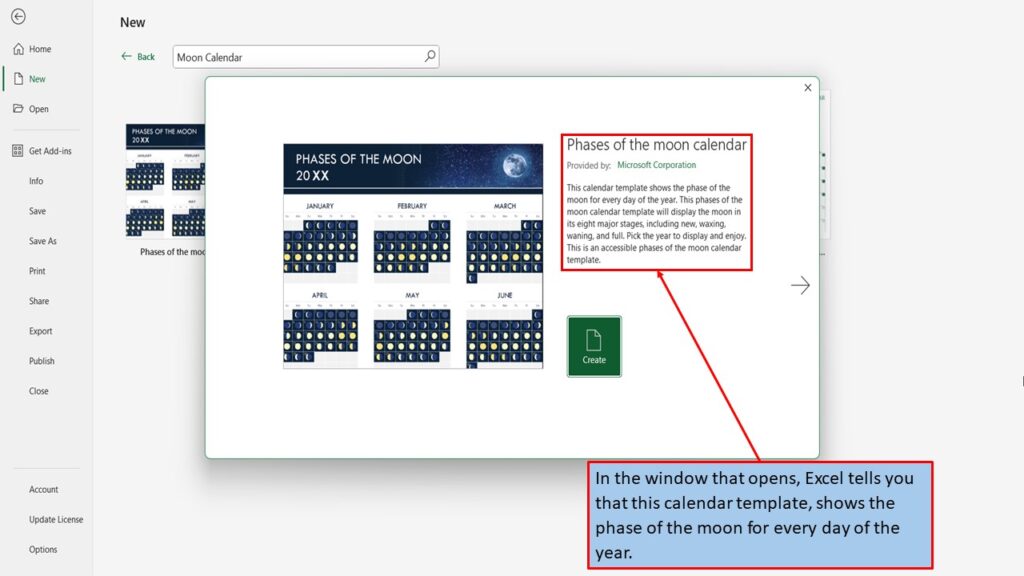
In the window that opens, Excel tells you that this calendar template, shows the phase of the moon for every day of the year.
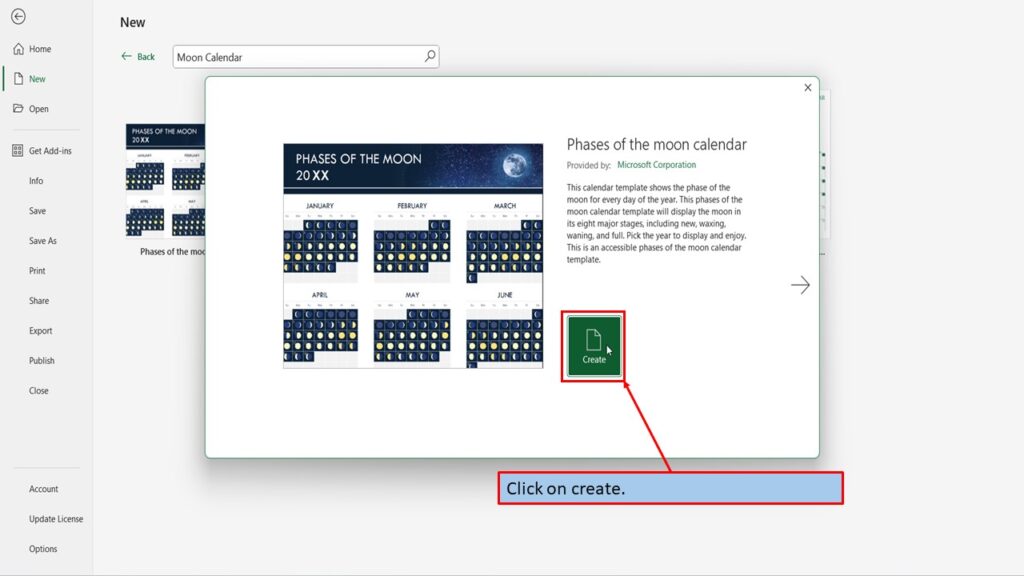
Click on create.
Excel, will load your Phases Of The Moon Calendar, ready for you to use.

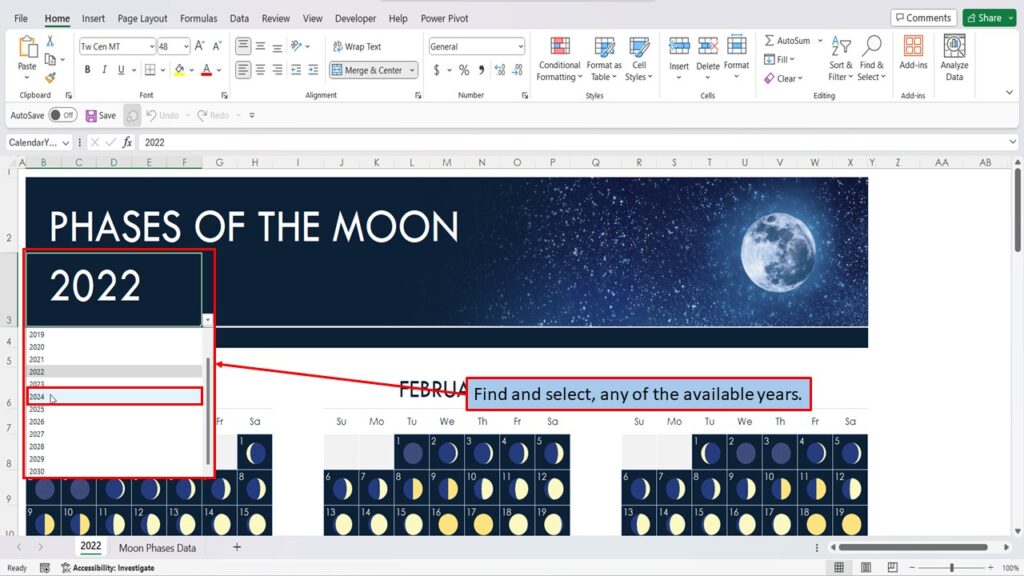
To change the year, click on the year shown on the top left of the calendar.

Click on the small arrow, to view the dropdown list.

Find and select, any of the available years.
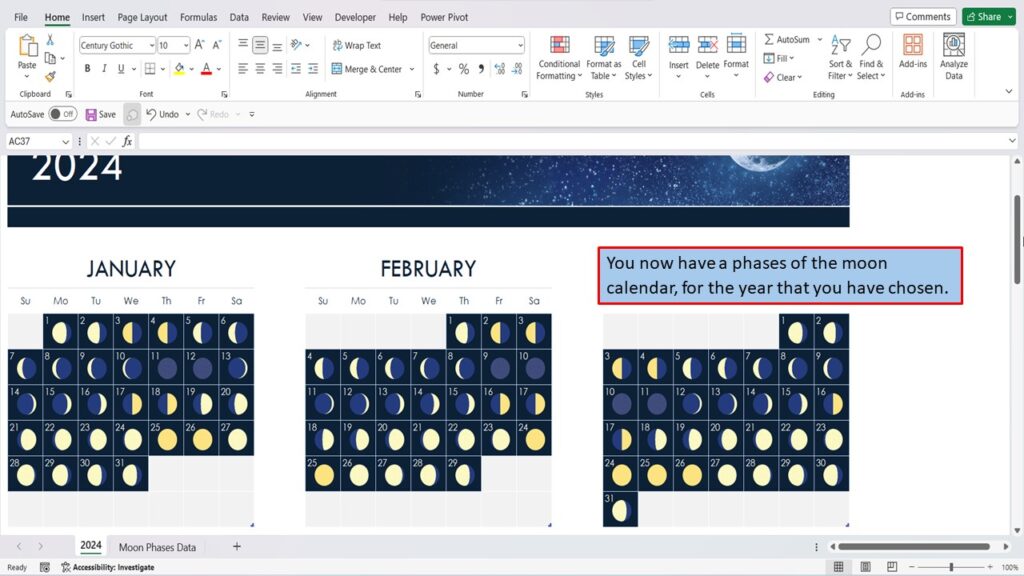
You now have a phases of the moon calendar, for the year that you have chosen.
Need More Help?
View the Video Tutorial.
Download this tutorial in PDF by clicking the Download link below.