Click here to view our video tutorial.
Click here to download our PDF tutorial.
🥗 How to Use the Monthly Food Budget Template in Excel 365 — Step-by-Step Guide
Looking for a simple way to manage your food spending each month? Excel 365 has a built-in Monthly Food Budget Template that’s ready to use — no formulas or design work required. In this step-by-step guide, I’ll walk you through exactly how to find, load, and start using this template to track your grocery and dining expenses.
This tutorial is perfect for individuals, families, or households who want to stay on budget and gain better control of their food costs.
✅ Step-by-Step Instructions (with Images)
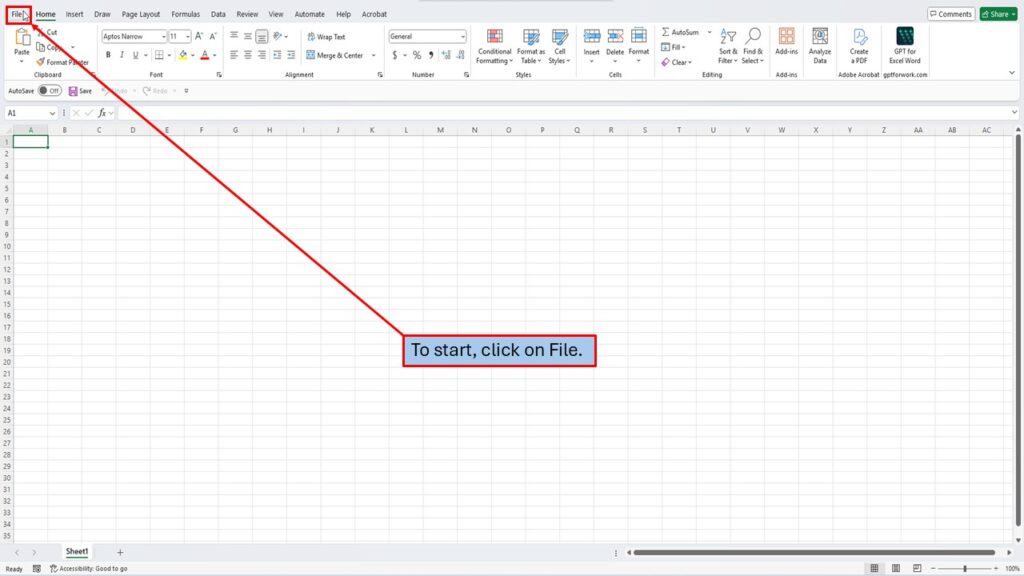
Step 1: To start, click on File
Open Excel 365 and click File in the top-left corner. This opens the backstage view where you can access templates and recent documents.
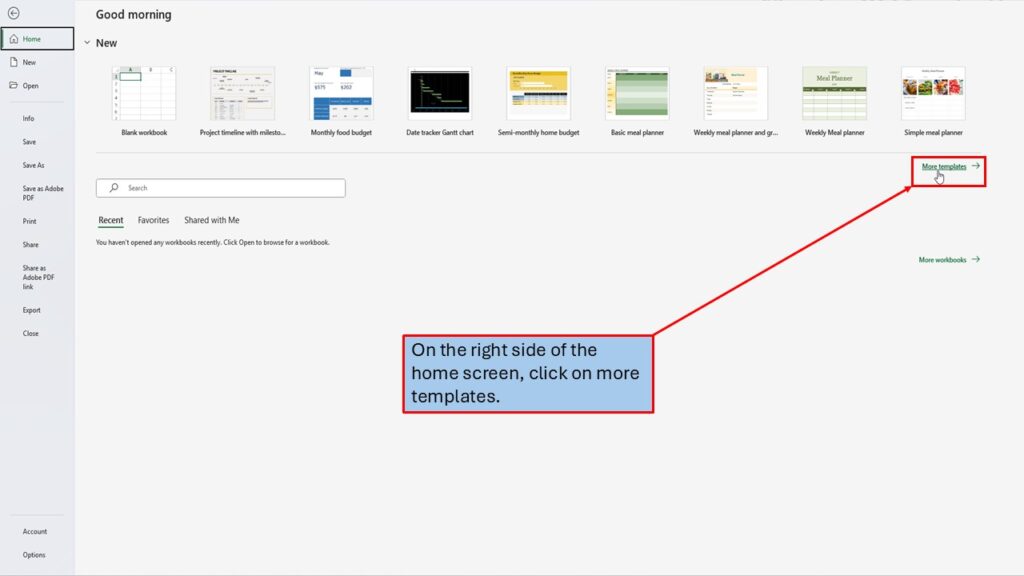
Step 2: Click on More Templates
On the right-hand side of the home screen, click on More Templates to browse all of Excel’s built-in options.
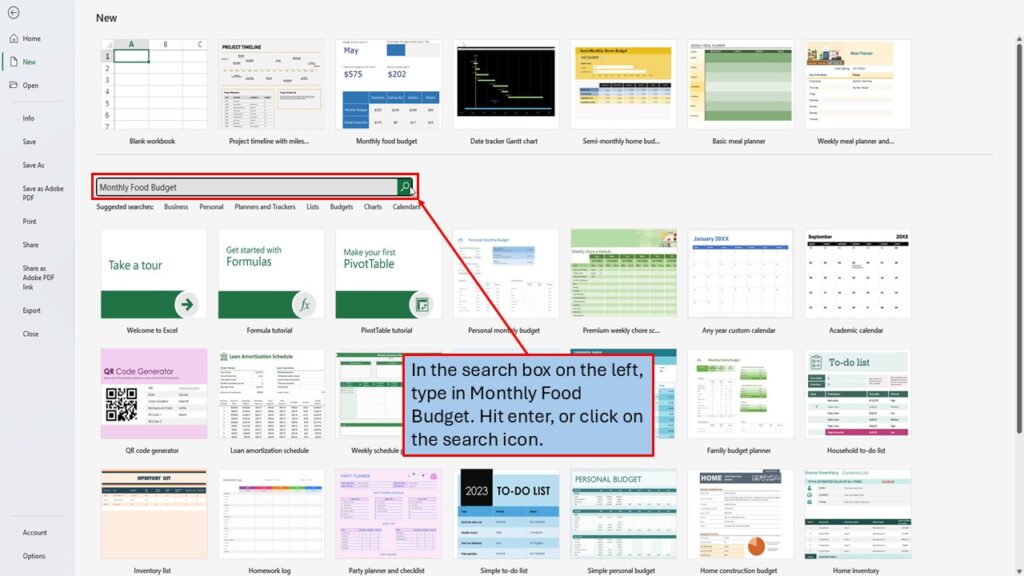
Step 3: Search for “Monthly Food Budget”
In the template search box on the left, type Monthly Food Budget, then press Enter or click the search icon.
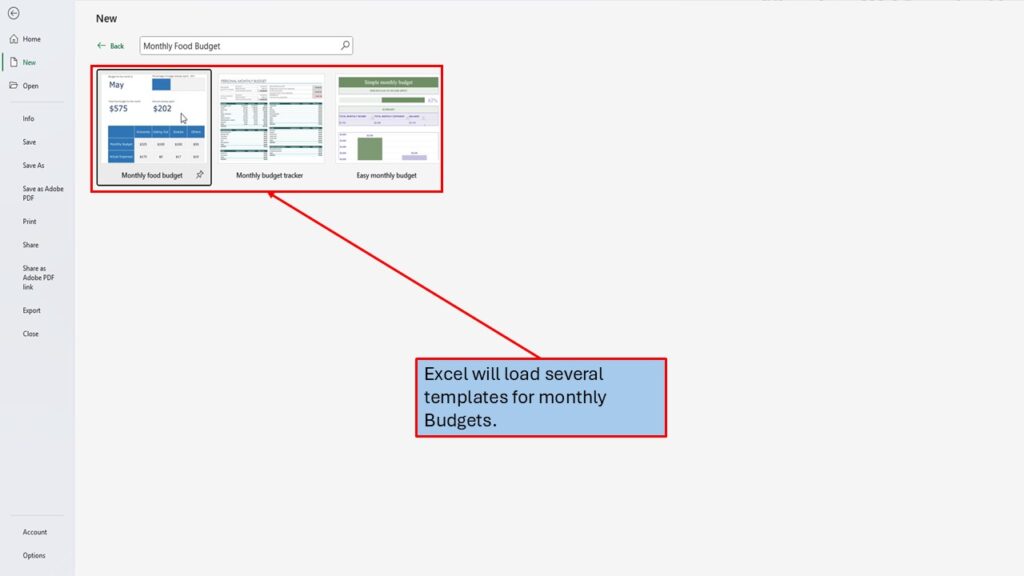
Step 4: View the Available Budget Templates
Excel will display a list of budget-related templates, including several options for monthly budgeting.
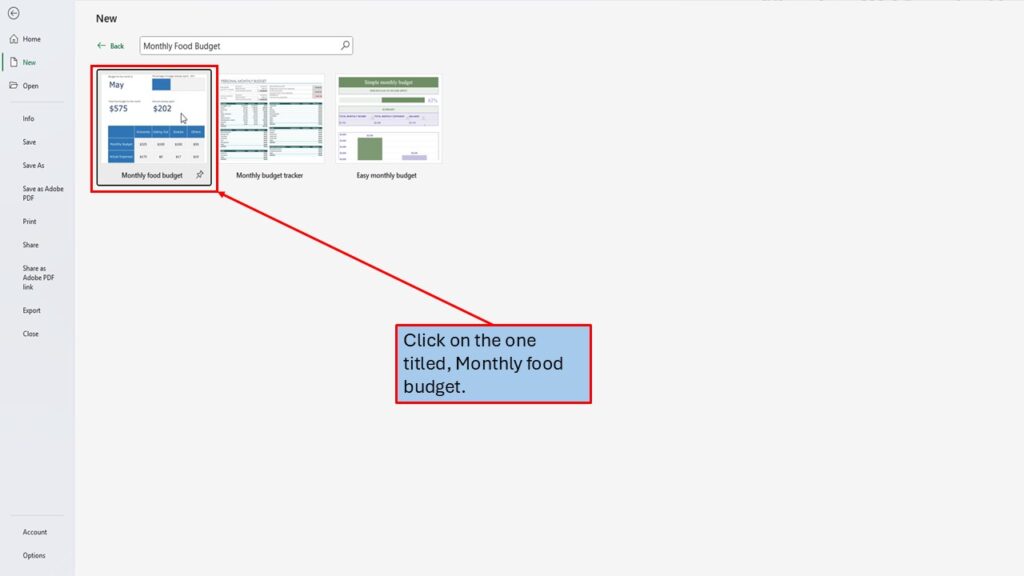
Step 5: Select the “Monthly Food Budget” Template
Find the template titled Monthly Food Budget and click on it to view a preview.
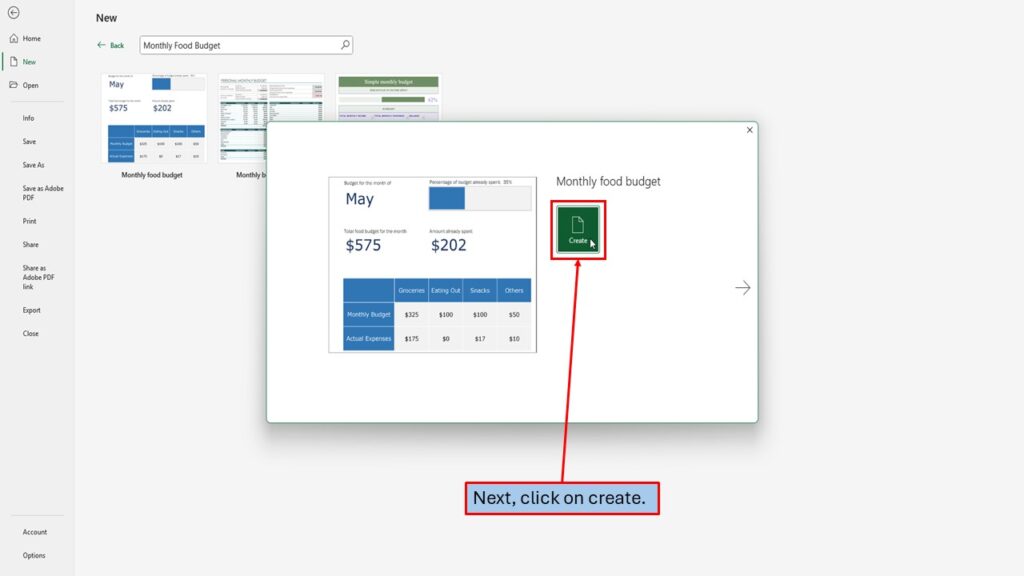
Step 6: Click on Create
Click the Create button to open the template in a new Excel workbook.
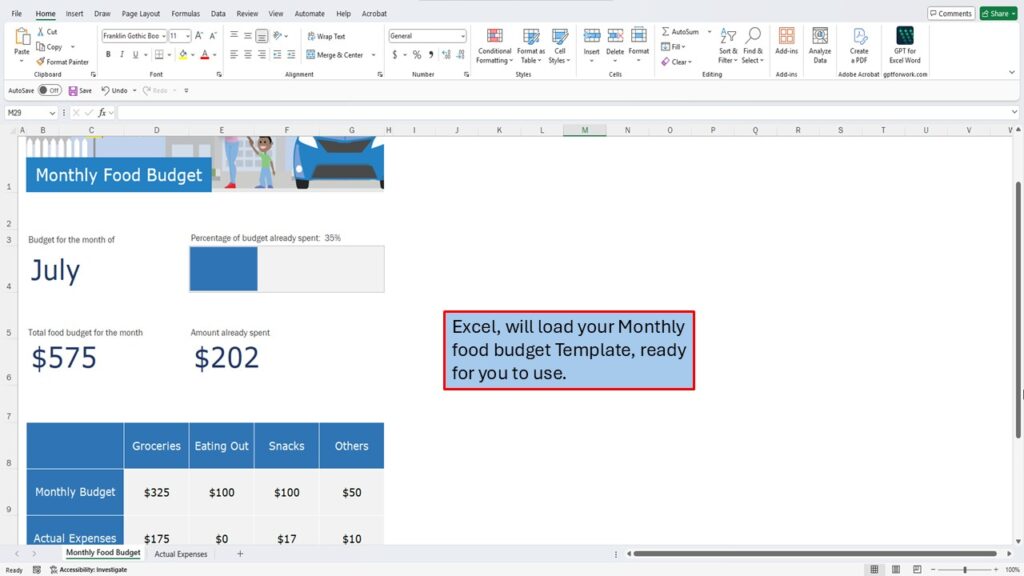
Step 7: Excel Will Load the Template Automatically
Your Monthly Food Budget Template is now ready to use — preformatted and fully functional.
📝 Entering Your Monthly Food Budget
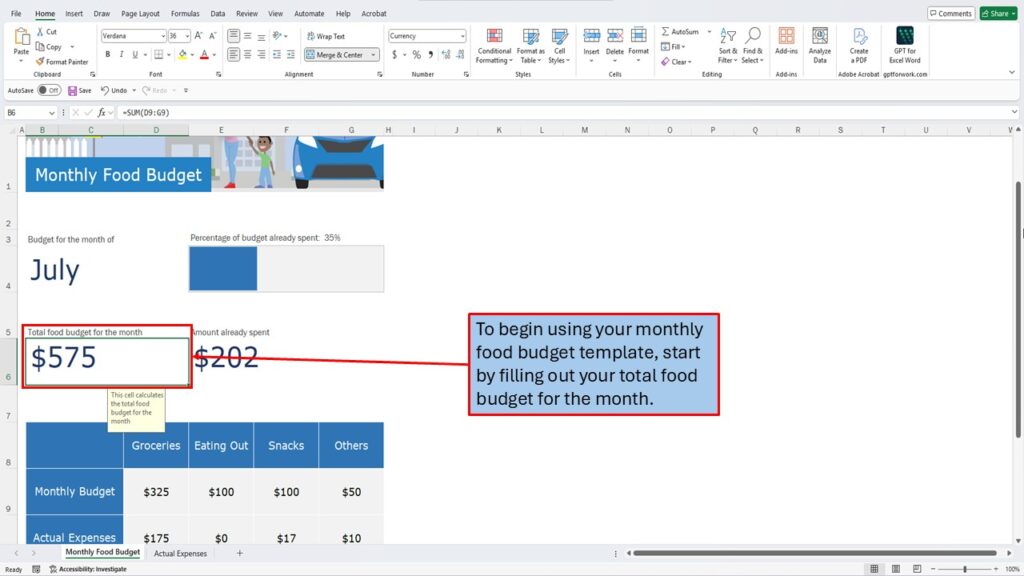
Step 8: Start by Entering Your Total Food Budget for the Month
Begin by entering the total amount you want to allocate toward food expenses this month.
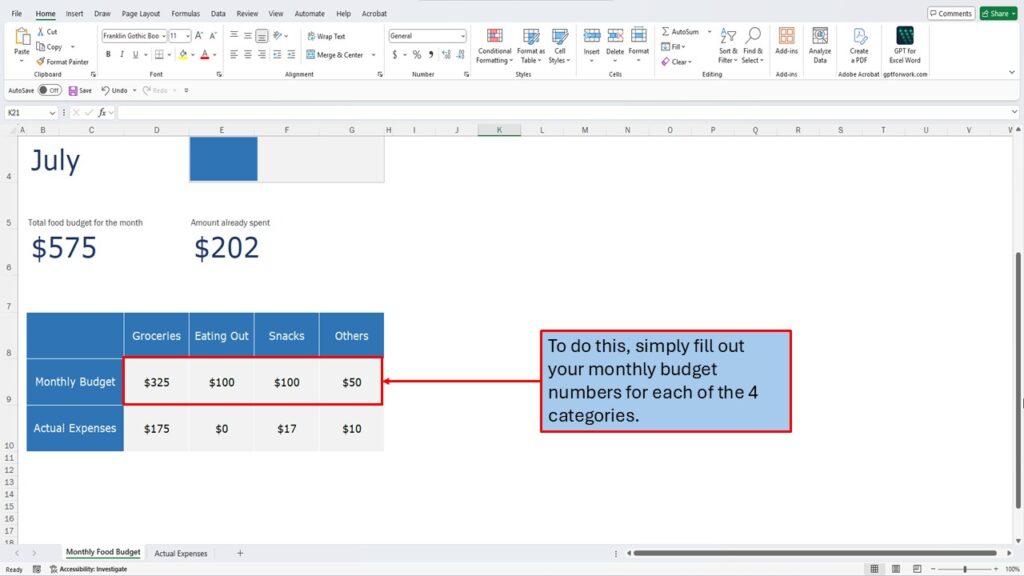
Step 9: Fill In the Budget for Each of the 4 Categories
Input your expected spending for each of the four predefined categories (e.g., Groceries, Dining Out, etc.).
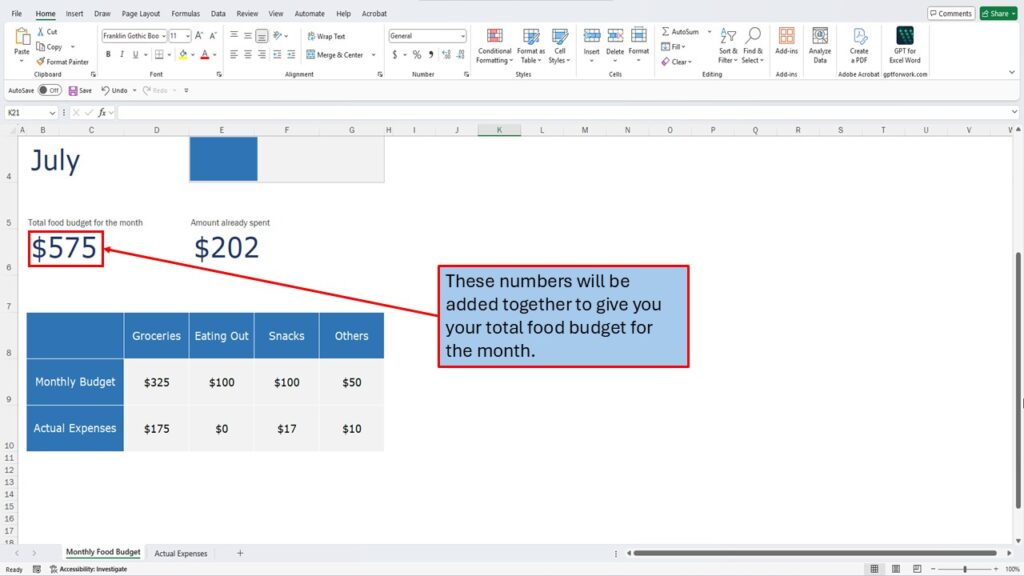
Step 10: Excel Will Automatically Calculate the Total
The template will sum your category budgets to show your total food budget at the top of the sheet — no extra formulas needed.
📋 Tracking Your Actual Food Expenses
Step 11: Open the “Actual Expenses” Page
Click on the Actual Expenses sheet/tab. This is where you’ll record your daily or weekly food purchases.
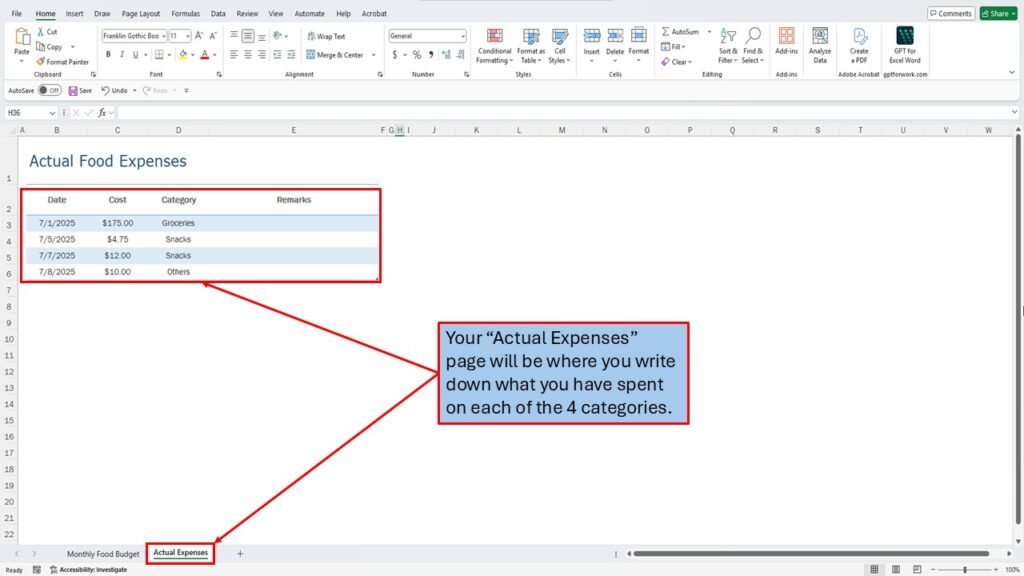
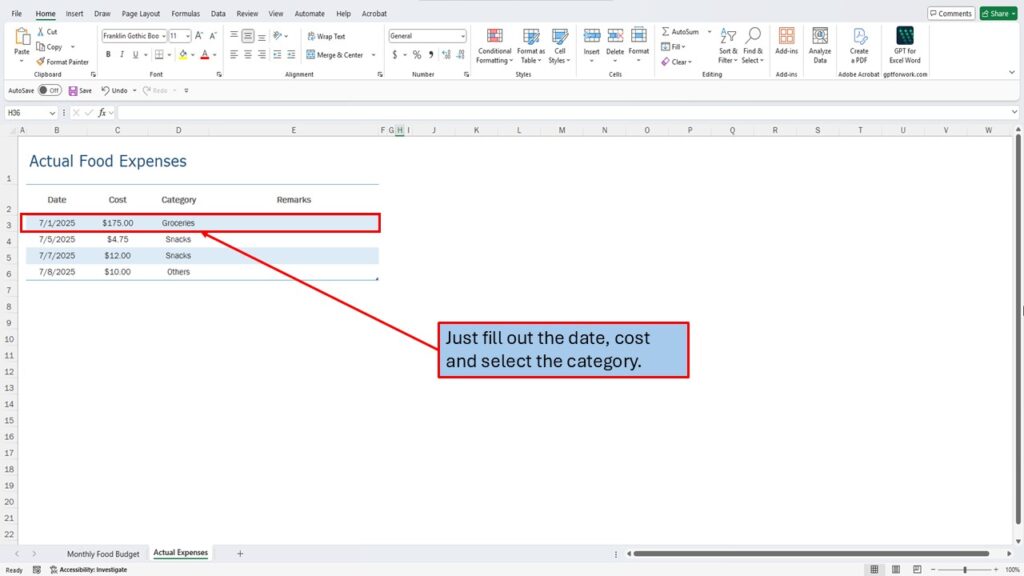
Step 12: Enter the Date, Cost, and Category
Each time you spend money on food, log the date, the amount spent, and choose the appropriate category.
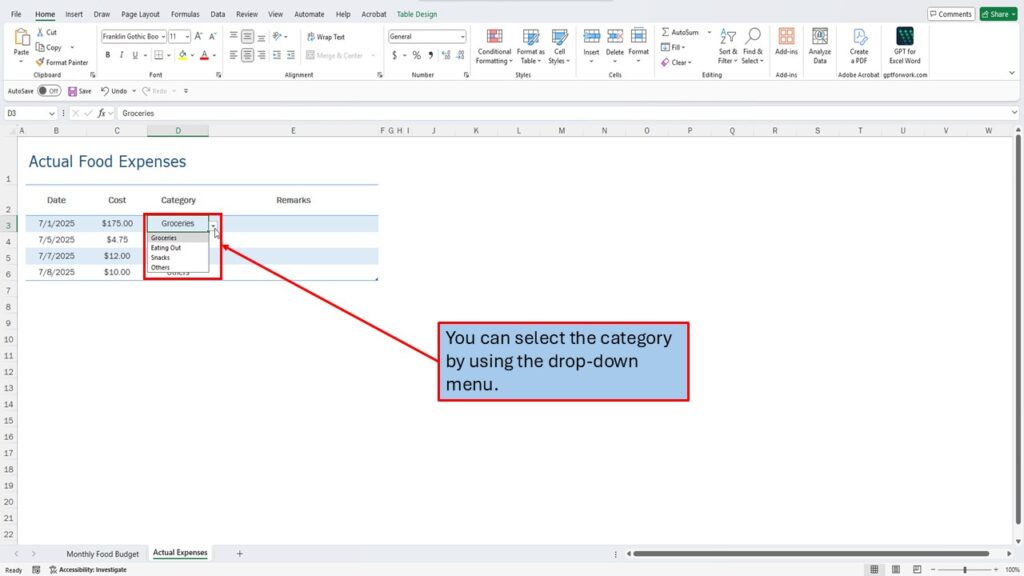
Step 13: Use the Drop-Down to Select a Category
The Category column uses a drop-down menu, making it quick and easy to select the correct category for each expense.
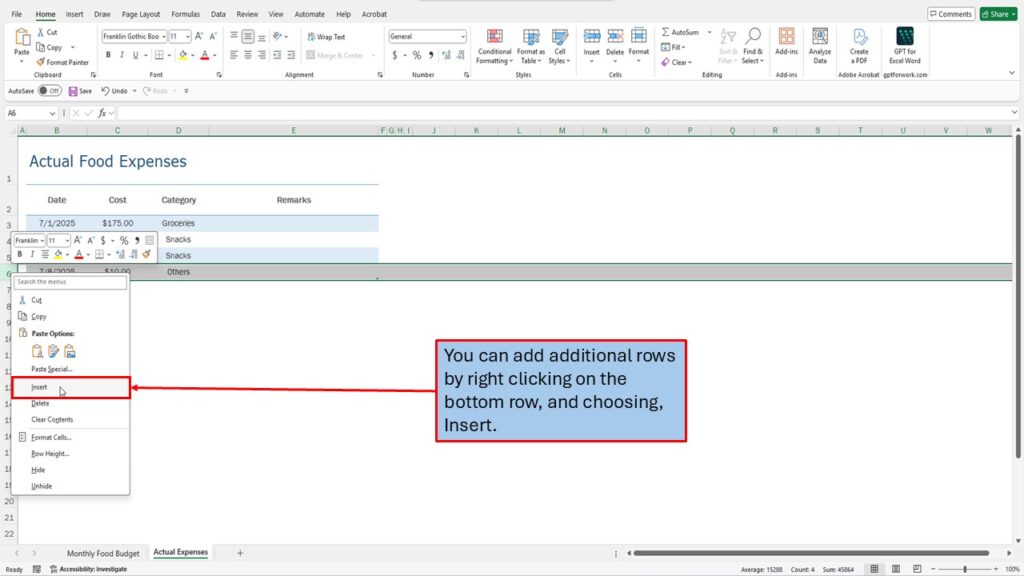
Step 14: Add More Rows if You Need Them
If you run out of space, simply right-click the last row in the table and select Insert to add a new row.
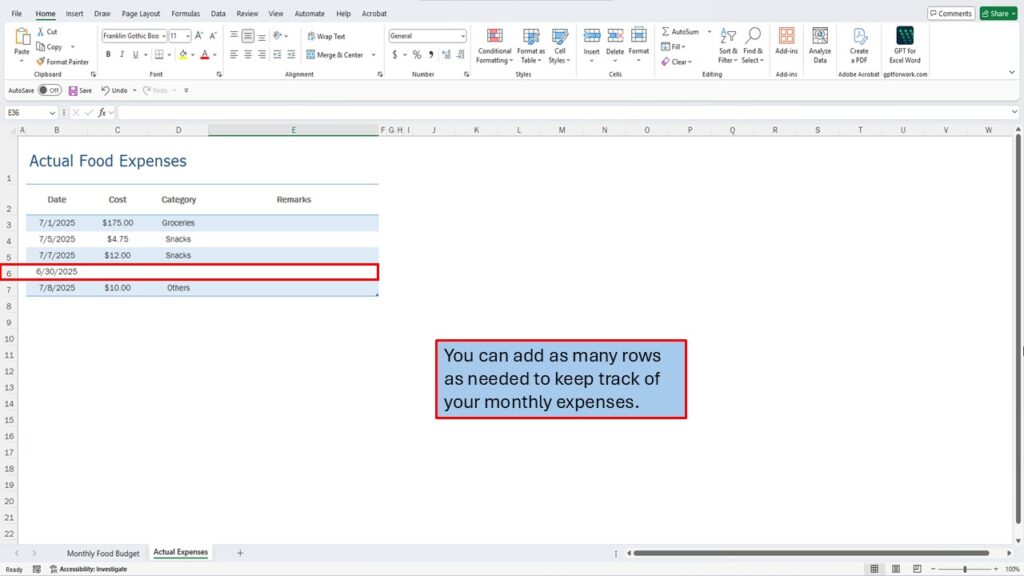
Step 15: Add as Many Rows as Needed
There’s no limit—you can add as many rows as needed to capture your monthly food expenses.
📊 View Budget Totals and Insights
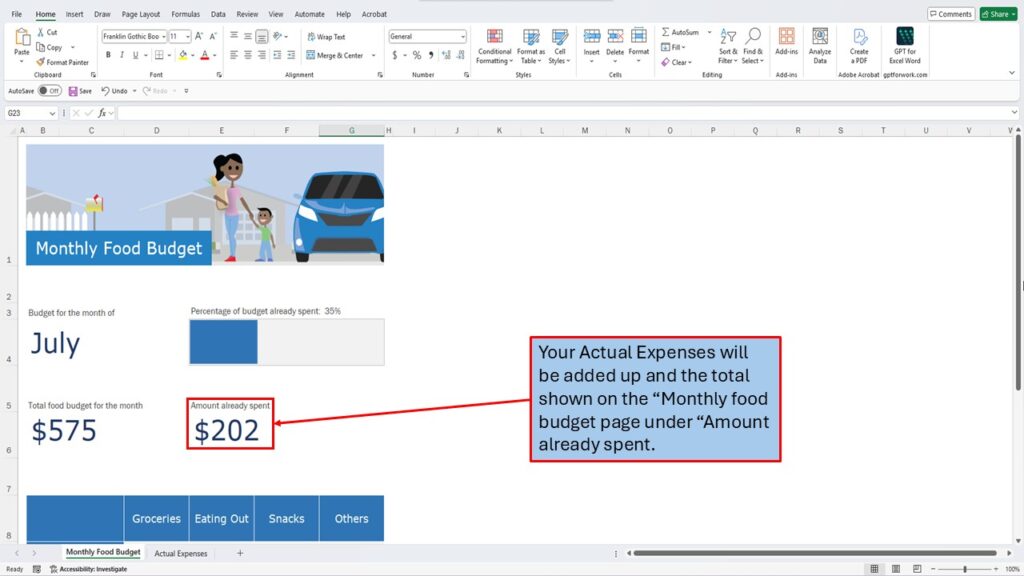
Step 16: Totals Are Automatically Shown on the Budget Page
All your spending is automatically tallied and reflected on the Monthly Food Budget page under “Amount Already Spent.”
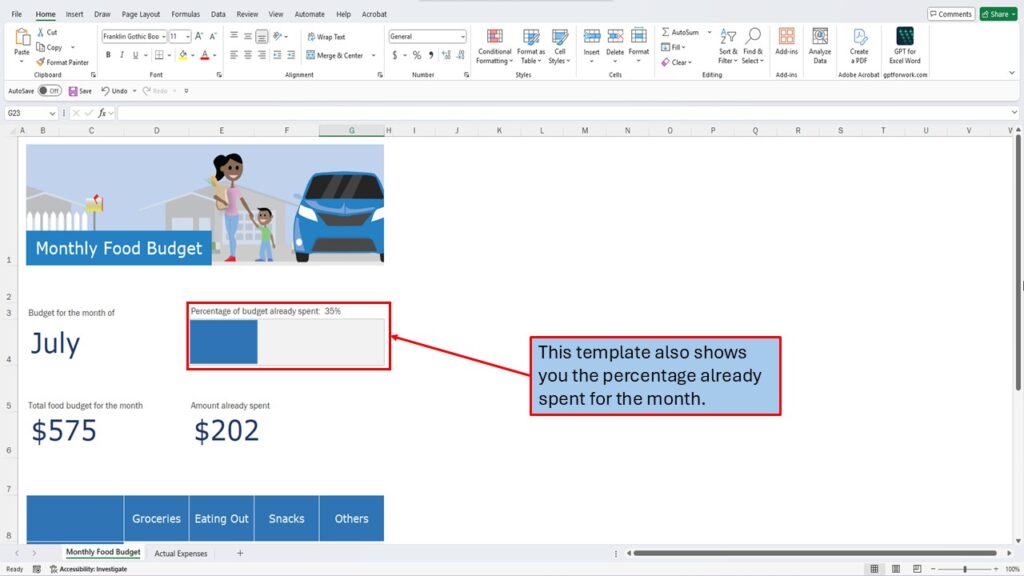
Step 17: Track the Percentage of Your Budget Used
The template also calculates the percentage of your monthly food budget already spent, so you always know where you stand.
🎯 Final Thoughts
Using the Monthly Food Budget Template in Excel 365 is one of the easiest ways to gain control of your food expenses. With no setup required, you can track every dollar spent on groceries, dining out, and more — all in one place.
If you found this tutorial helpful, make sure to subscribe to Mark’s Excel Tips on YouTube for more quick, easy-to-follow Excel tutorials designed to save you time and reduce spreadsheet frustration.
Need More Help?
Video Tutorial
PDF Download