
Click here to view our video tutorial.
Click here to download our PDF tutorial.
Today, I will show you how to create a Home Inventory Template, in Excel 365. Let’s get started.
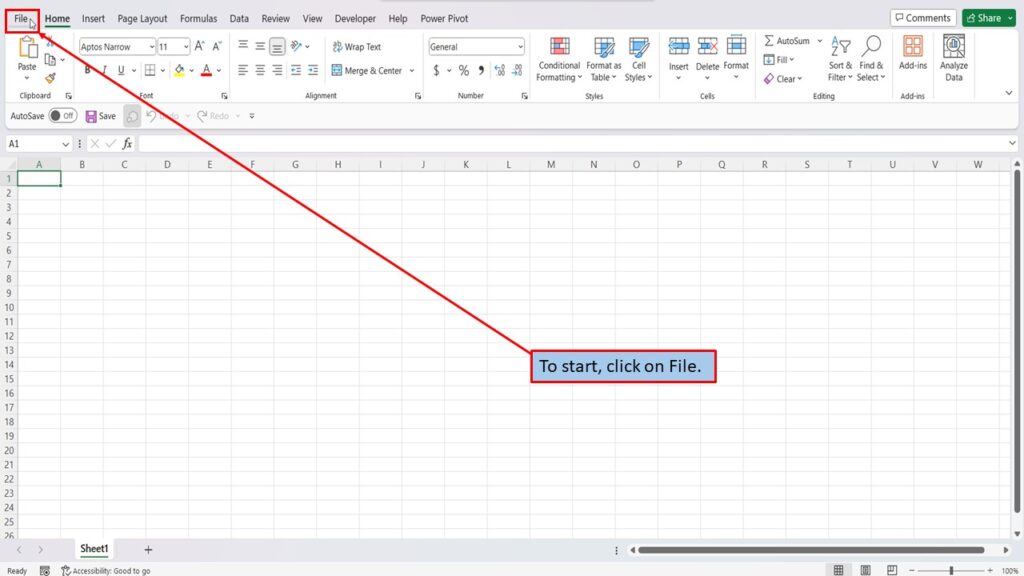
To start, click on File.
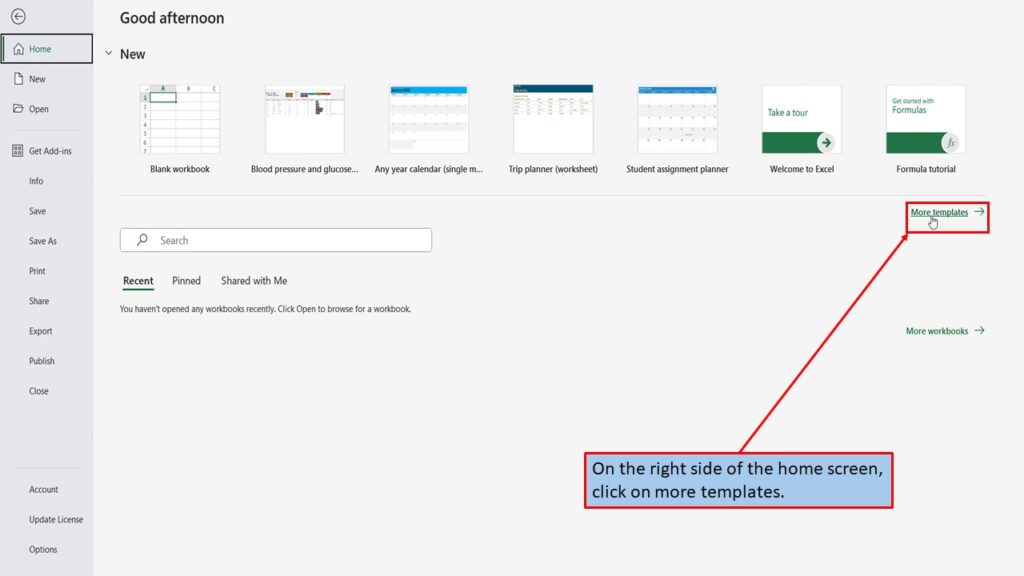
On the right side of the home screen, click on more templates.
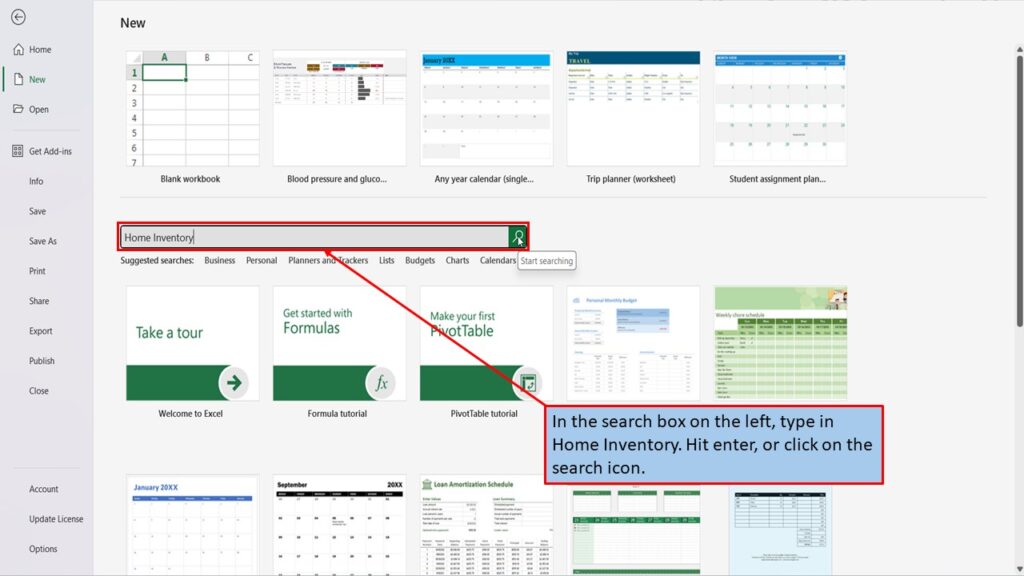
In the search box on the left, type in Home Inventory. Hit enter, or click on the search icon.
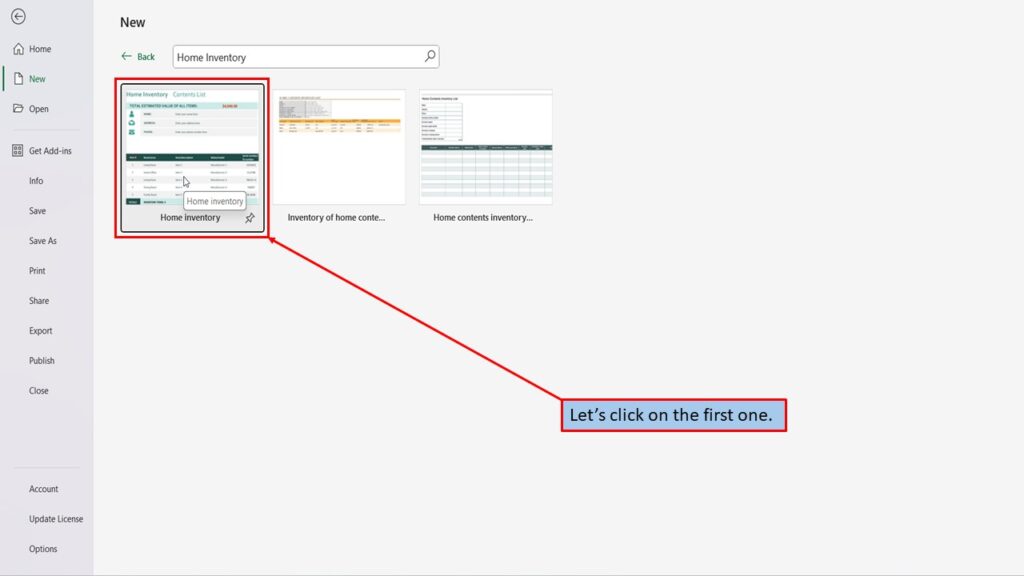
Excel will load several templates, for documenting your Home Inventory.
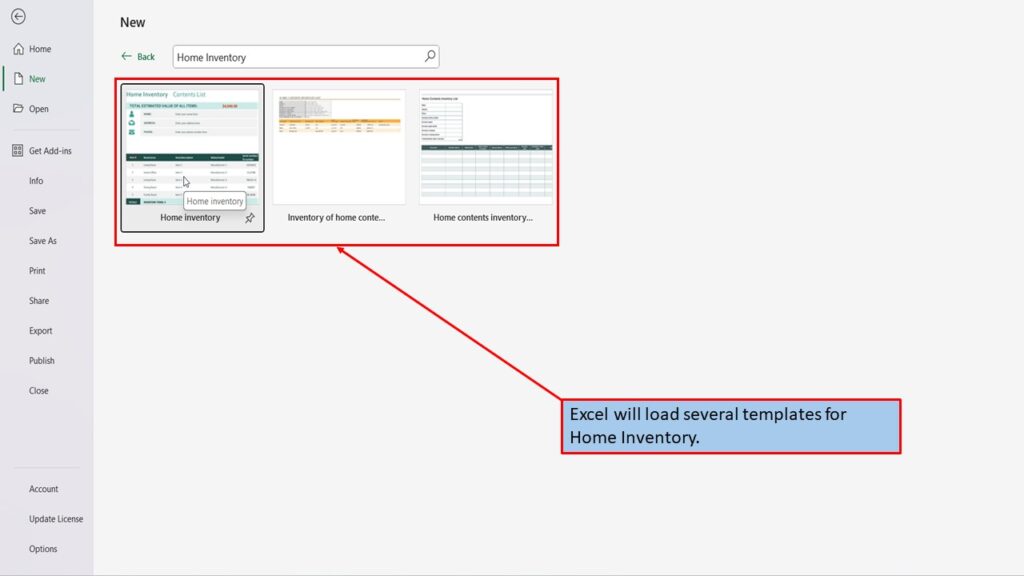
Let’s click on the first one.
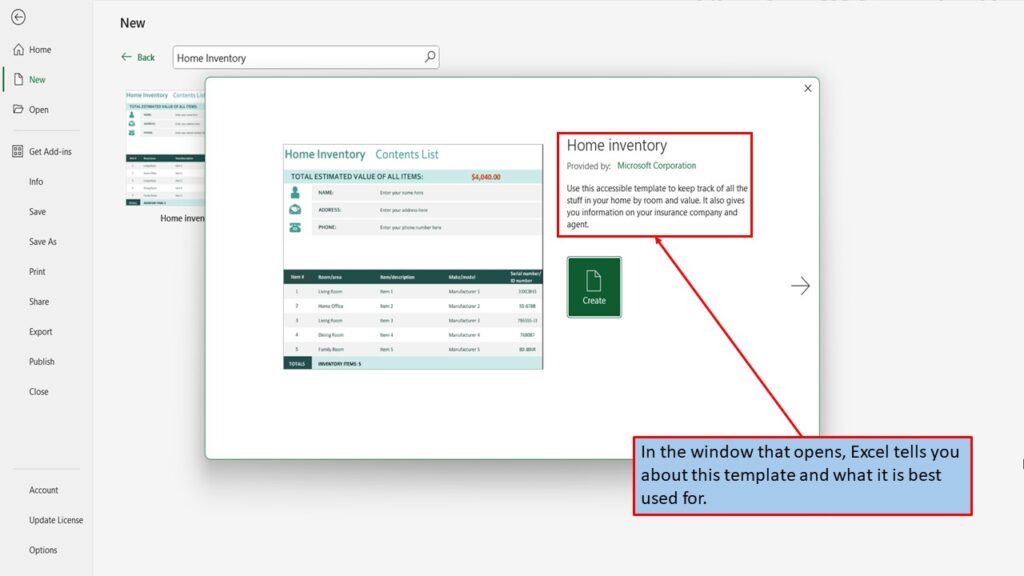
In the window that opens, Excel tells you about this template and what it is best used for.
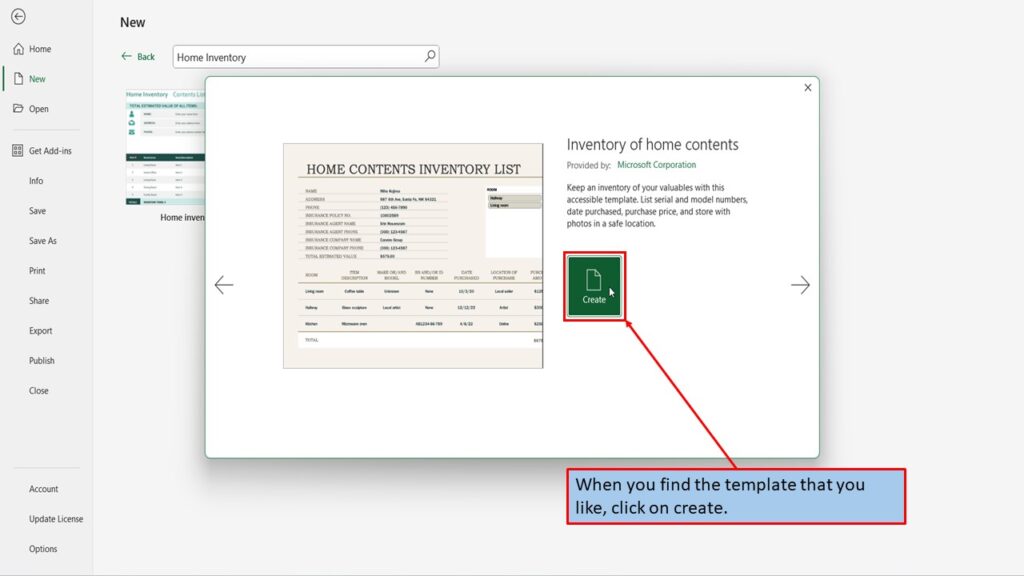
You can use the left and right arrows, to scroll through the different Home Inventory templates. Each template will give you a brief description on what it can be used for.

When you find the Home Inventory template that you like, click on create.
Excel, will load your Home Inventory Template, ready for you to use.
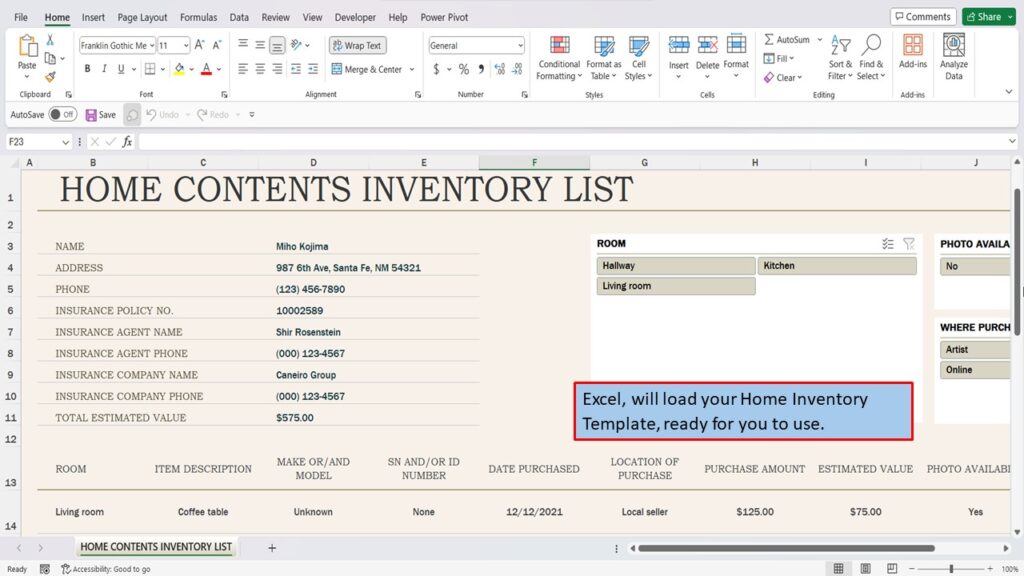
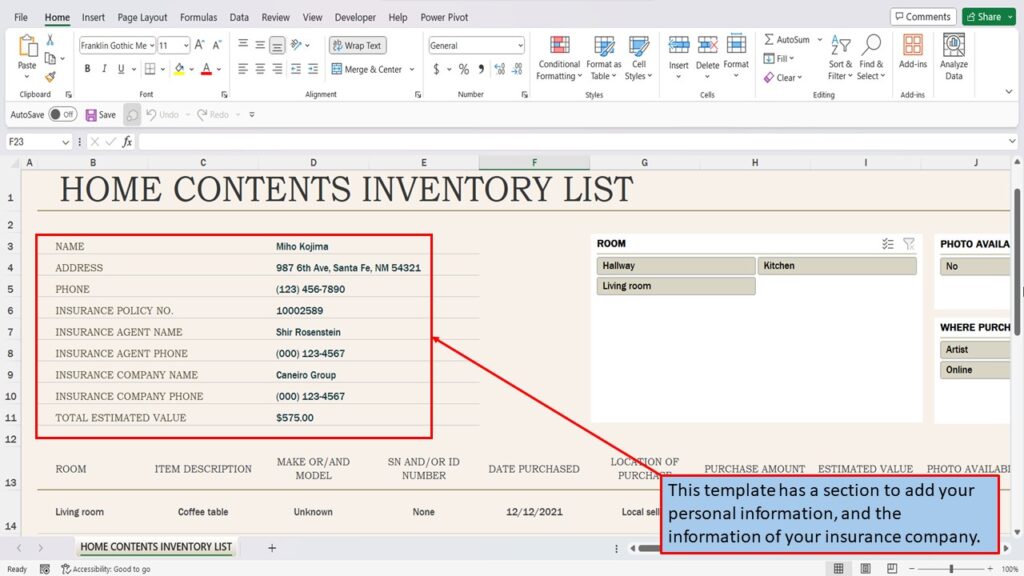
This template has a section to add your personal information, and the information of your insurance company.
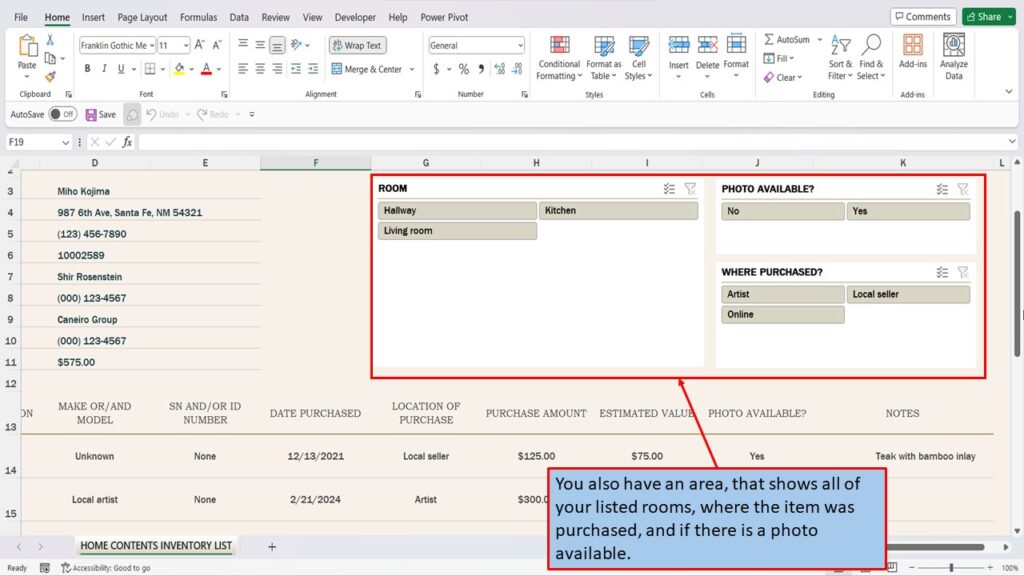
You also have an area, that shows all of your listed rooms, where the item was purchased, and if there is a photo available.
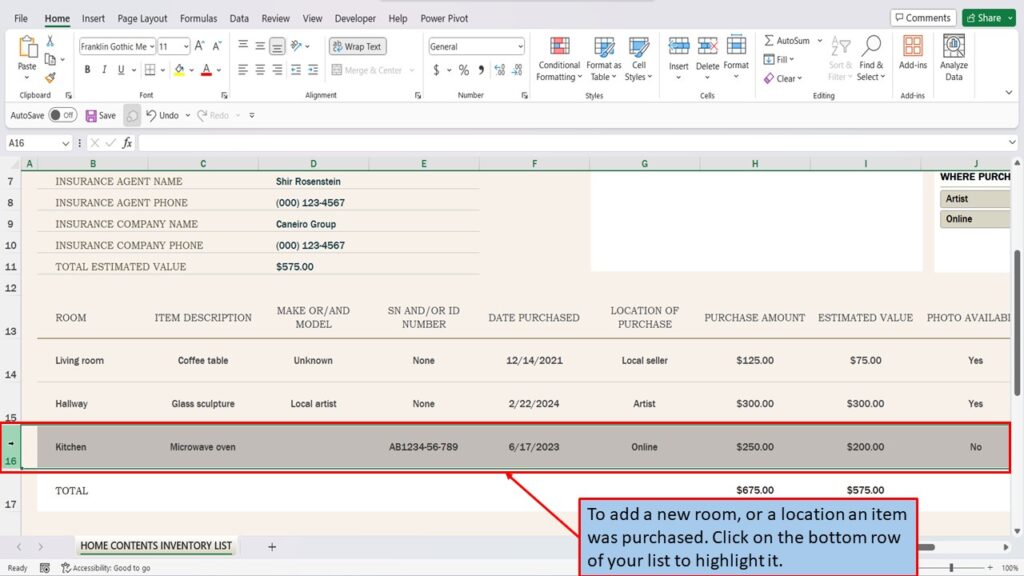
To add a room, or a location an item was purchased. Click on the bottom row, to highlight it.
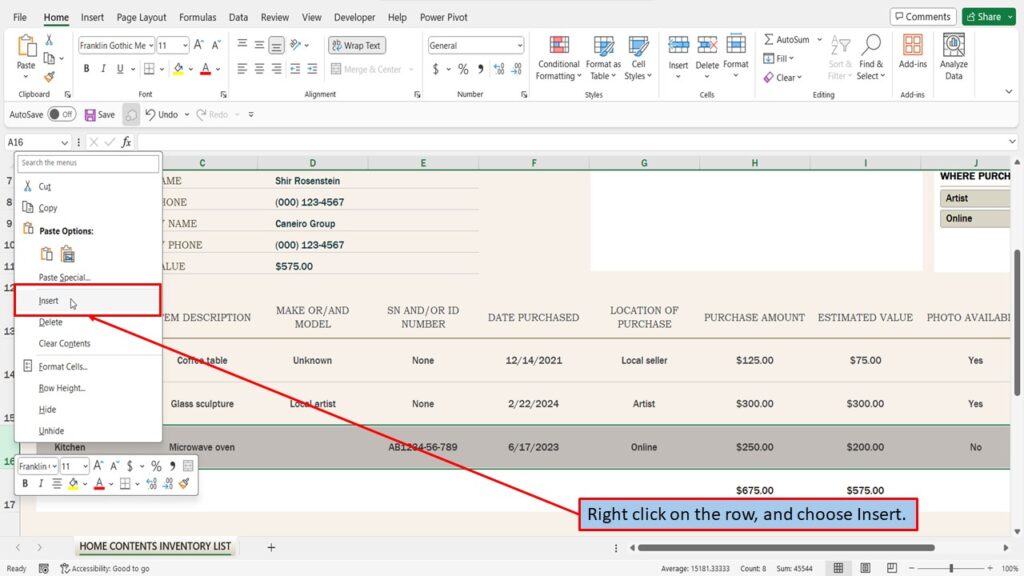
Right click on the row, and choose, Insert.
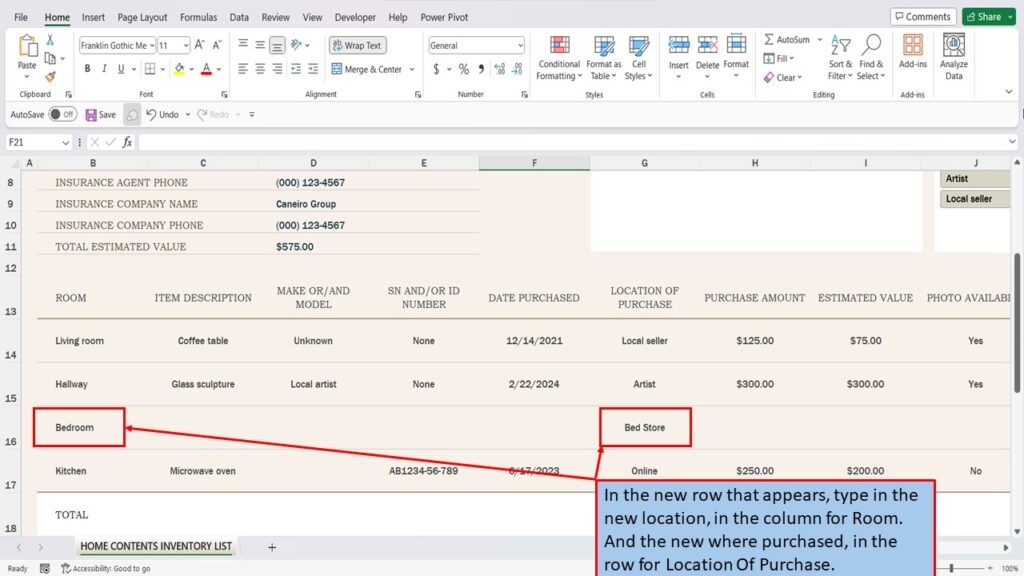
In the new row that appears. type in the new location, in the column for Room. And the new where purchased, in the column for Location Of Purchase.
These new items, will automatically be added to the top right area, of your home inventory list.

Need More Help?
View the Video Tutorial.
Download this tutorial in PDF by clicking the Download link below.