
Hello, and welcome to Mark’s Excel Tips. Today we are going to show you how to create a Meal Planner Template with shopping list, in 365. Let’s get started.
Click here to view our video tutorial.
Click here to download our PDF tutorial.
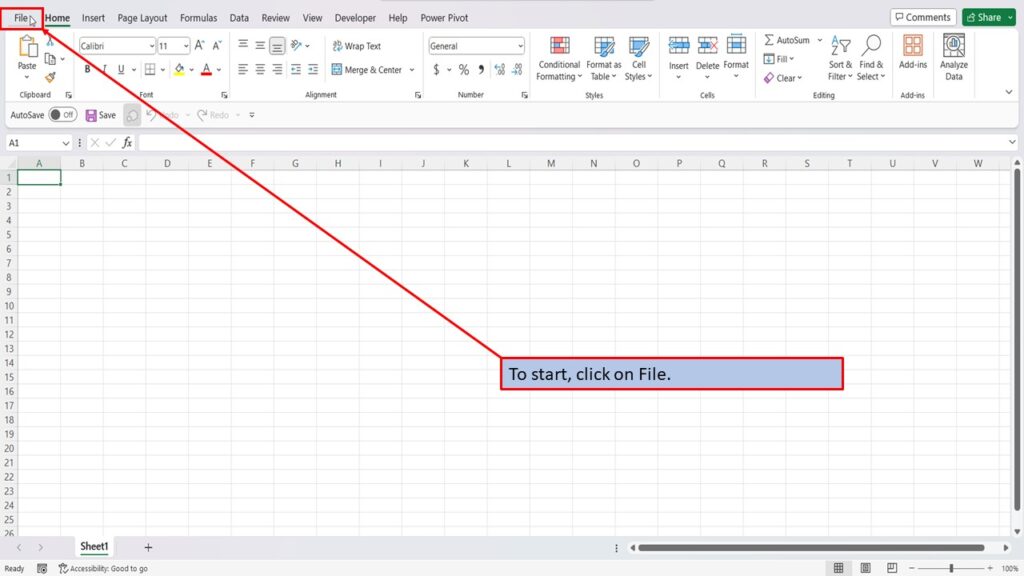
To start, click on File.
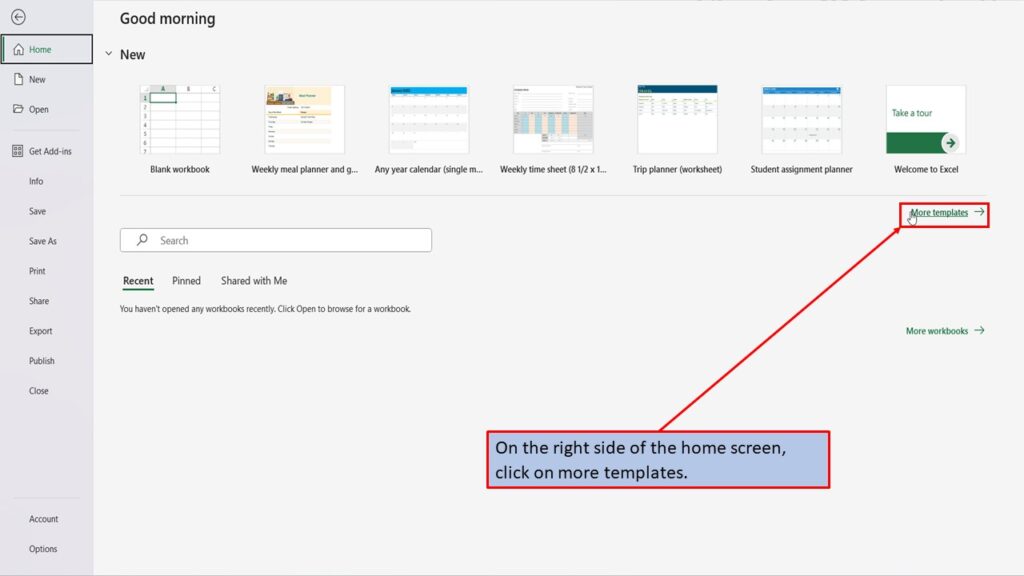
On the right side of the home screen, click on more templates.
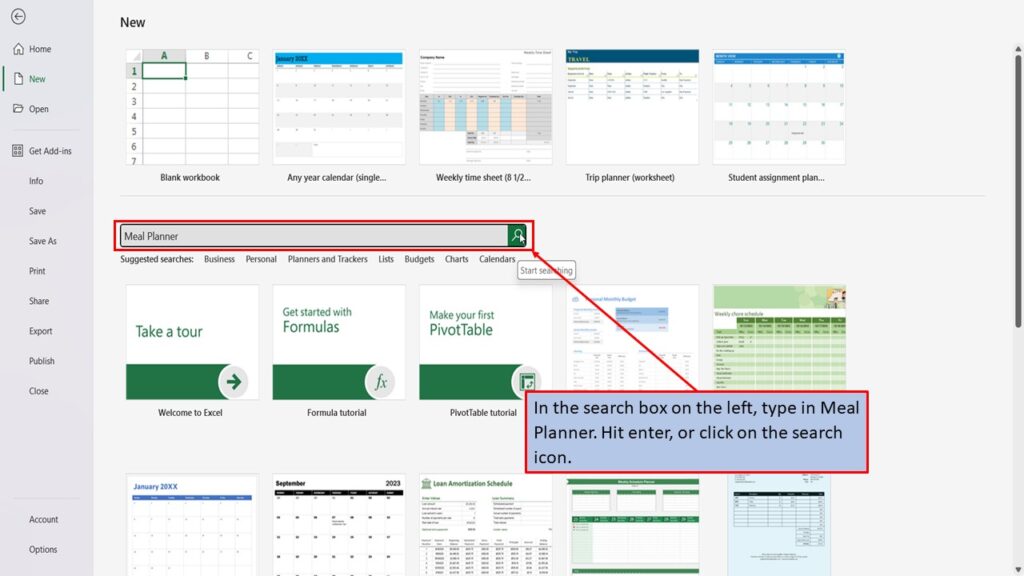
In the search box on the left, type in Meal Planner. Hit enter, or click on the search icon.
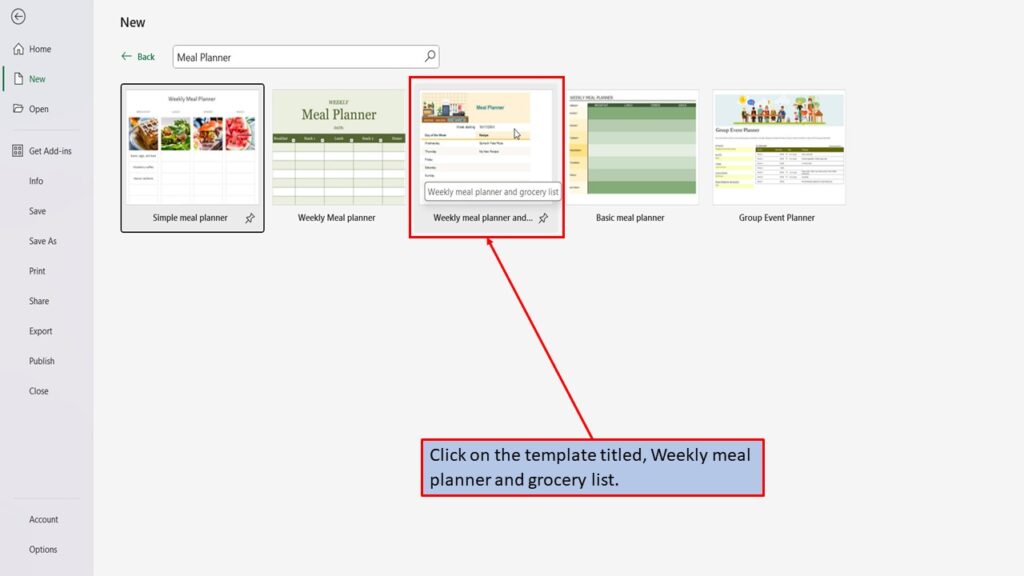
Excel will load several meal planner templates.
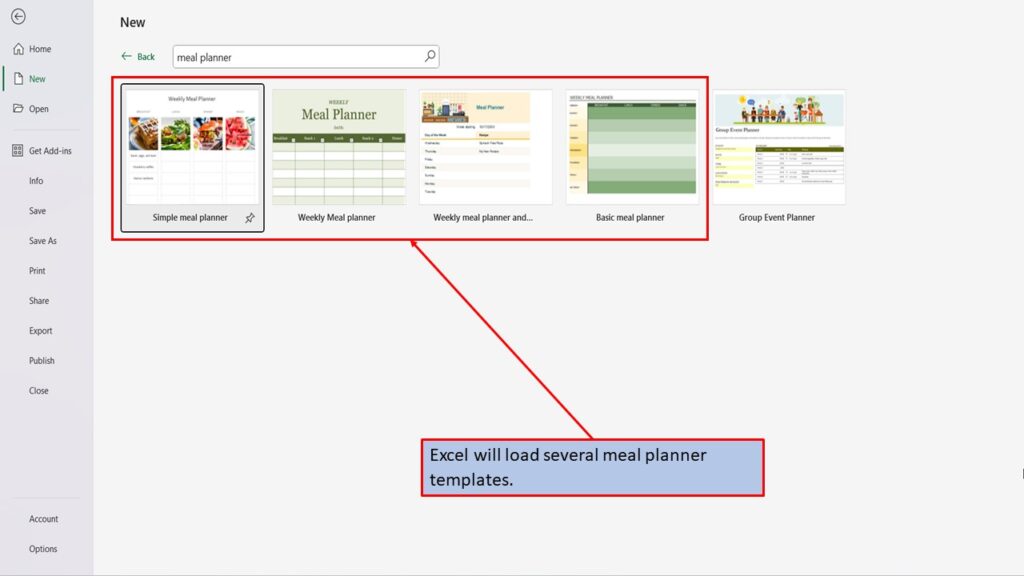
Click on the template titled, Weekly meal planner and grocery list.
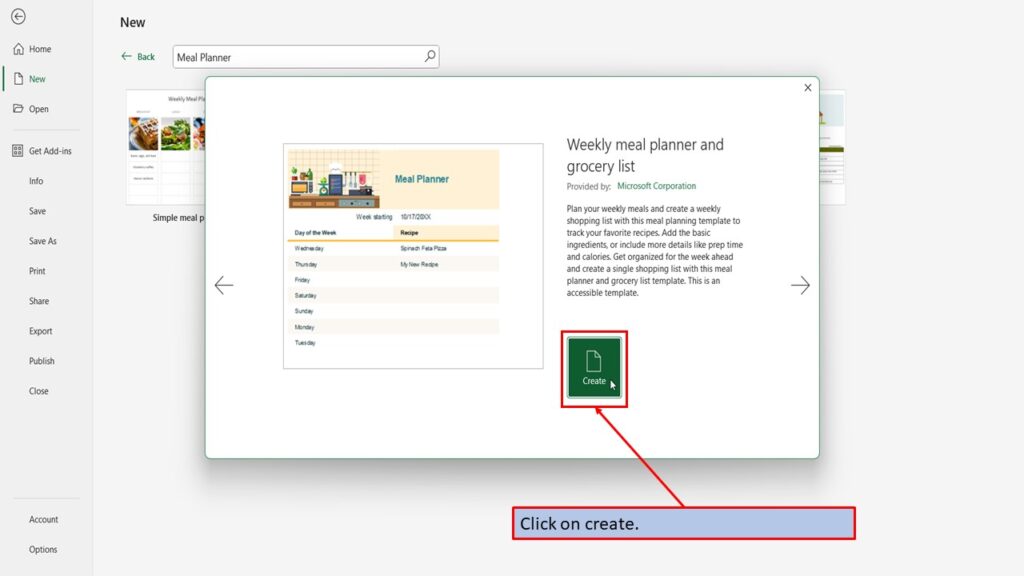
Click on create.
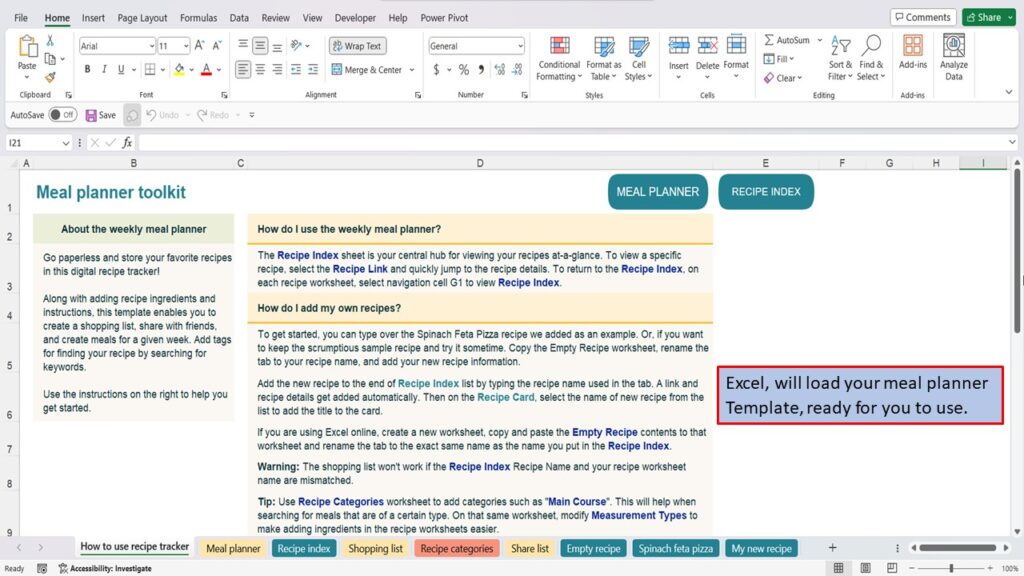
Excel, will load your meal planner Template, ready for you to use.
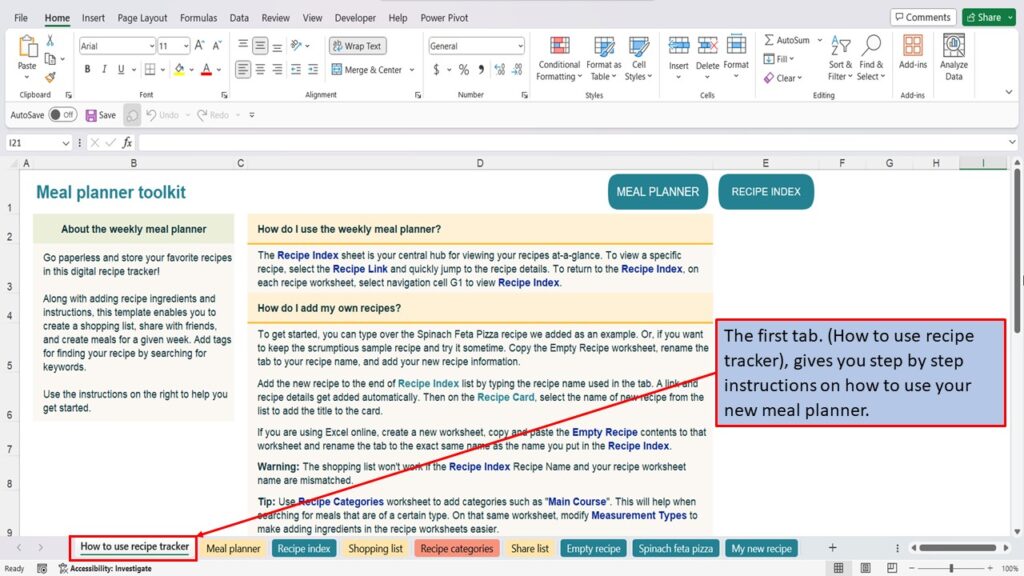
The first tab. (How to use recipe tracker), gives you step by step instructions on how to use your new meal planner.
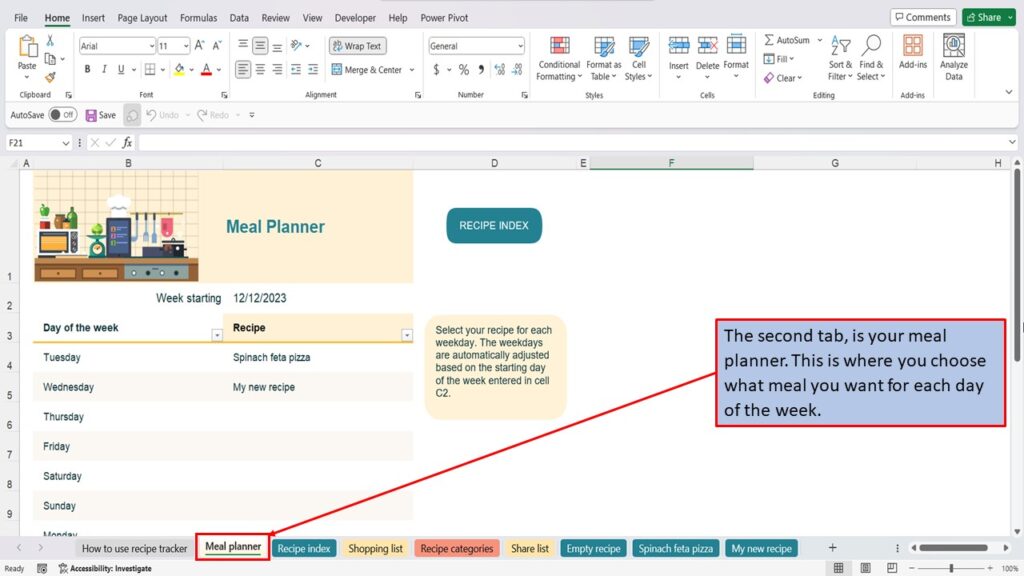
The second tab, is your meal planner. This is where you choose what meal you want for each day of the week.
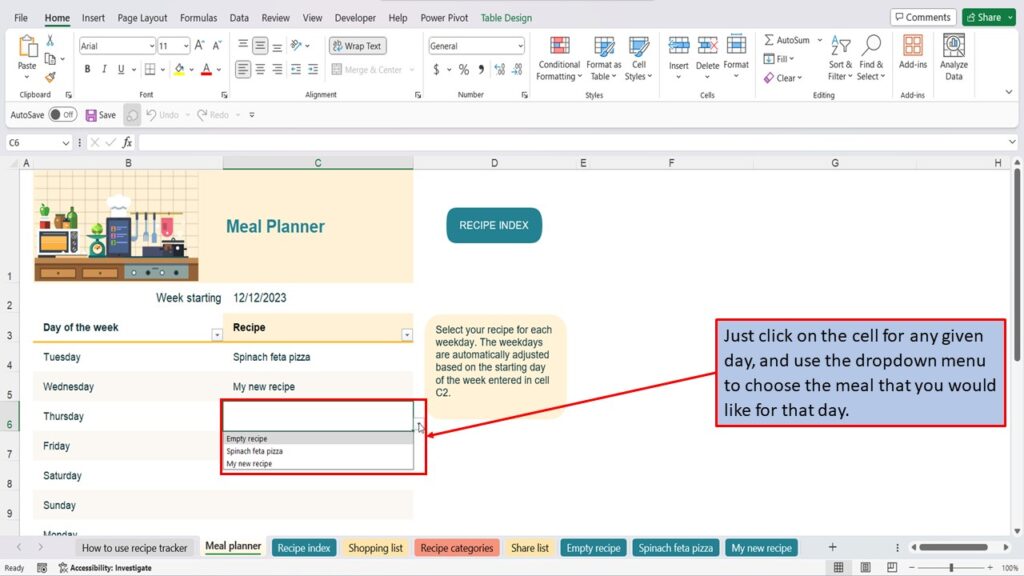
Just click on the cell for any given day, and use the dropdown menu to choose the meal that you would like for that day.
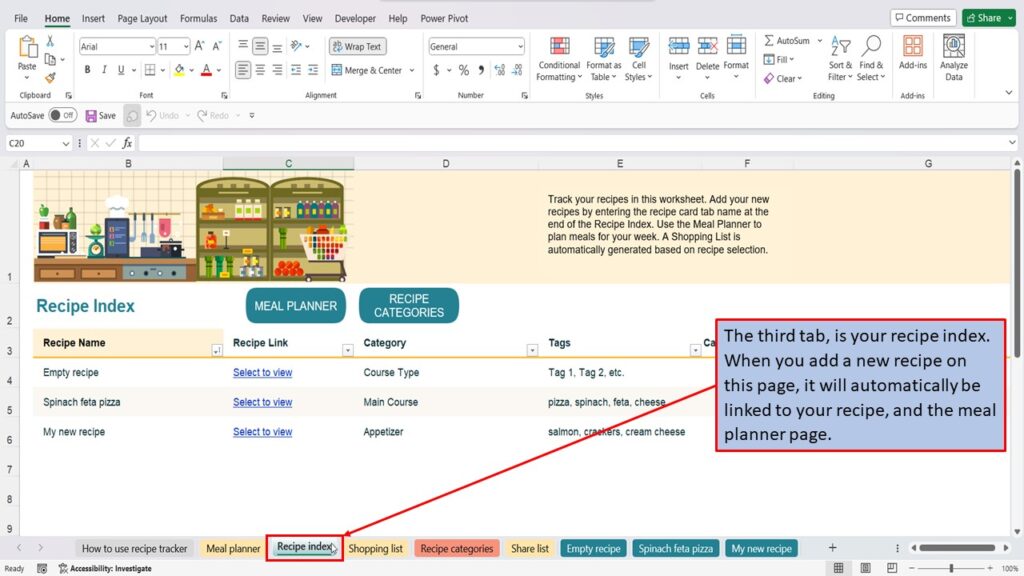
The third tab, is your recipe index. When you add a new recipe on this page, it will automatically be linked to your recipe, and the meal planner page.
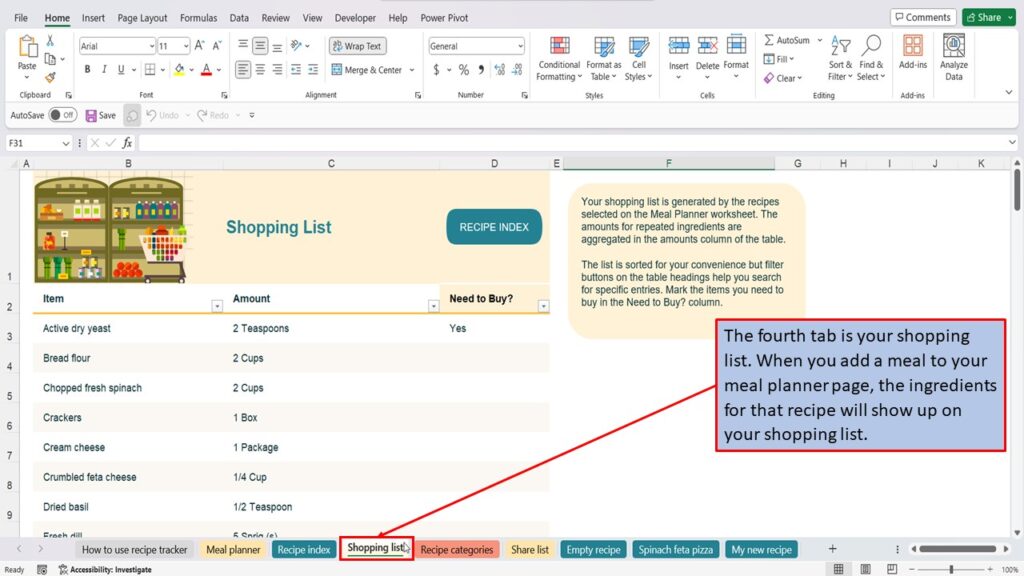
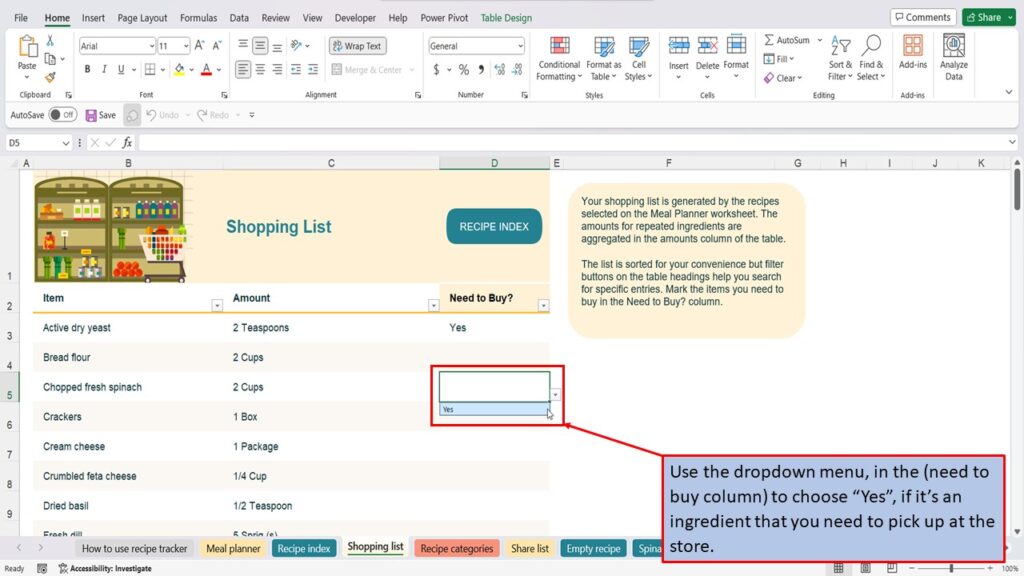
The fourth tab is your shopping list. When you add a meal to your meal planner page, the ingredients for that recipe will show up on your shopping list.
Use the dropdown menu, in the need to buy column. and choose “Yes”, if it’s an ingredient that you need to pick up at the store.
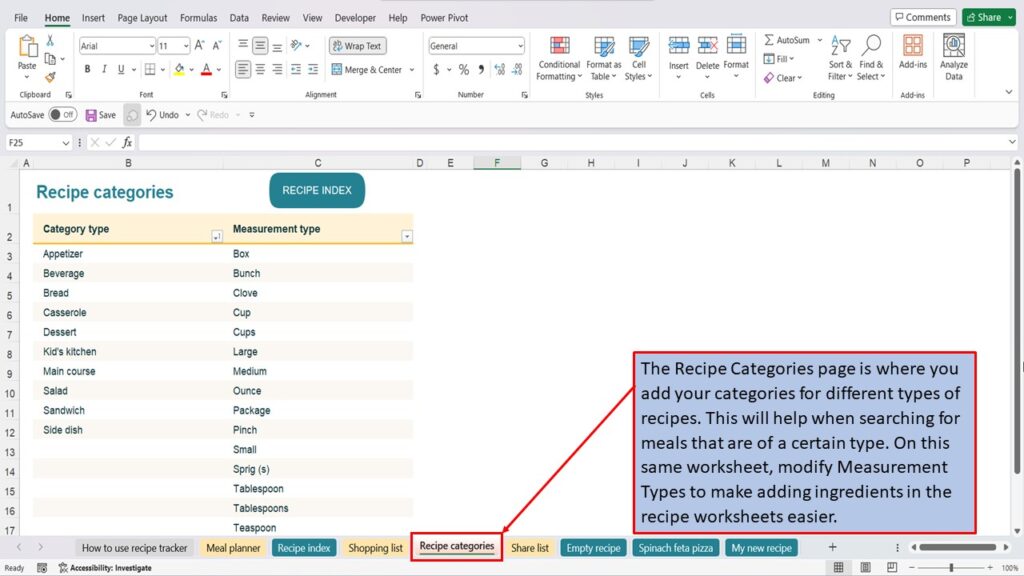
The Recipe Categories page is where you add your categories for different types of recipes. This will help when searching for meals that are of a certain type. On this same worksheet, modify Measurement Types to make adding ingredients in the recipe worksheets easier.
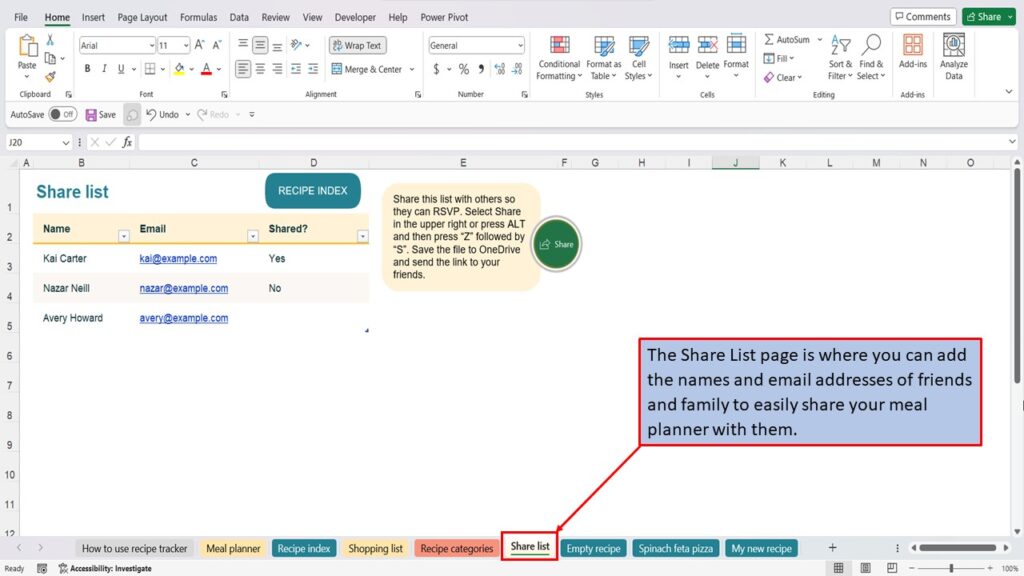
The Share List page is where you can add the names and email addresses of friends and family to easily share your meal planner with them.
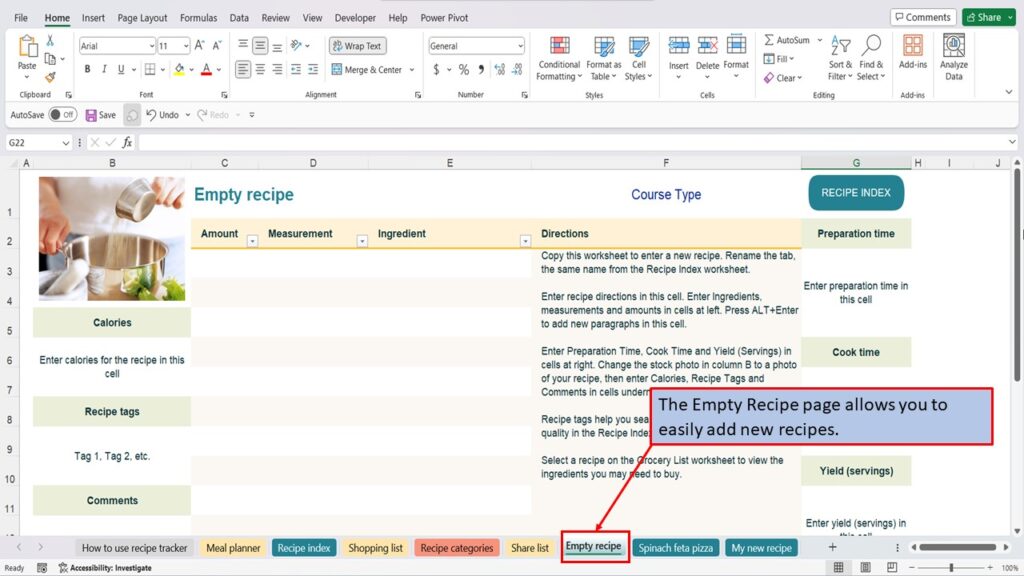
The Empty Recipe page allows you to easily add new recipes.
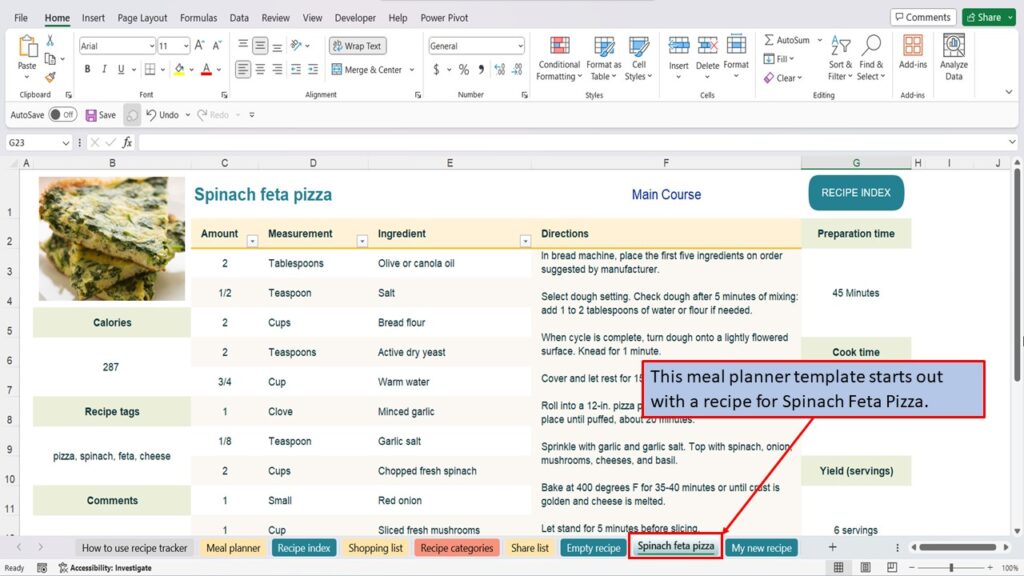
This meal planner template, starts you out with a recipe for Spinach Feta Pizza.
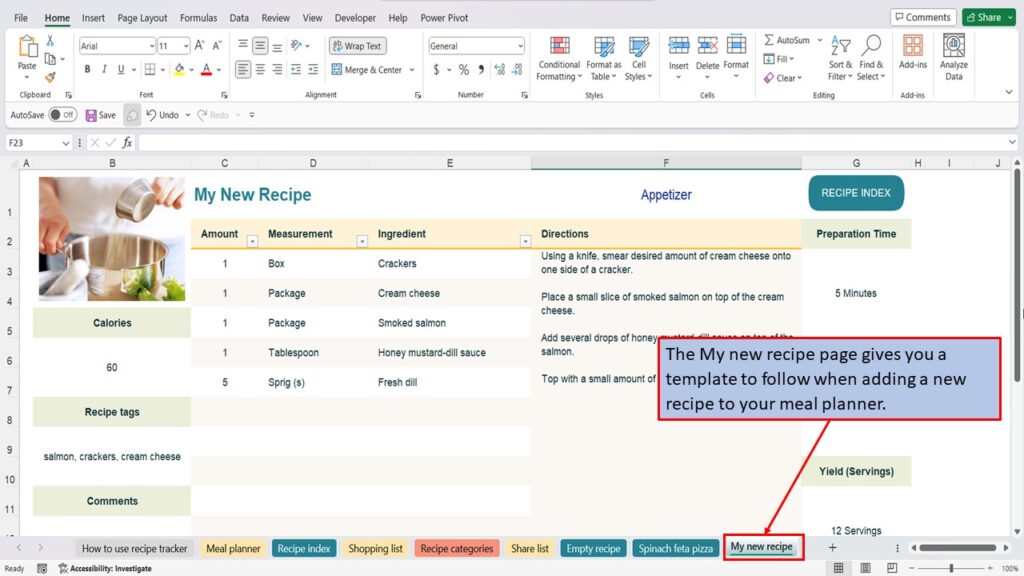
The My new recipe page gives you a template to follow when adding a new recipe to your meal planner.
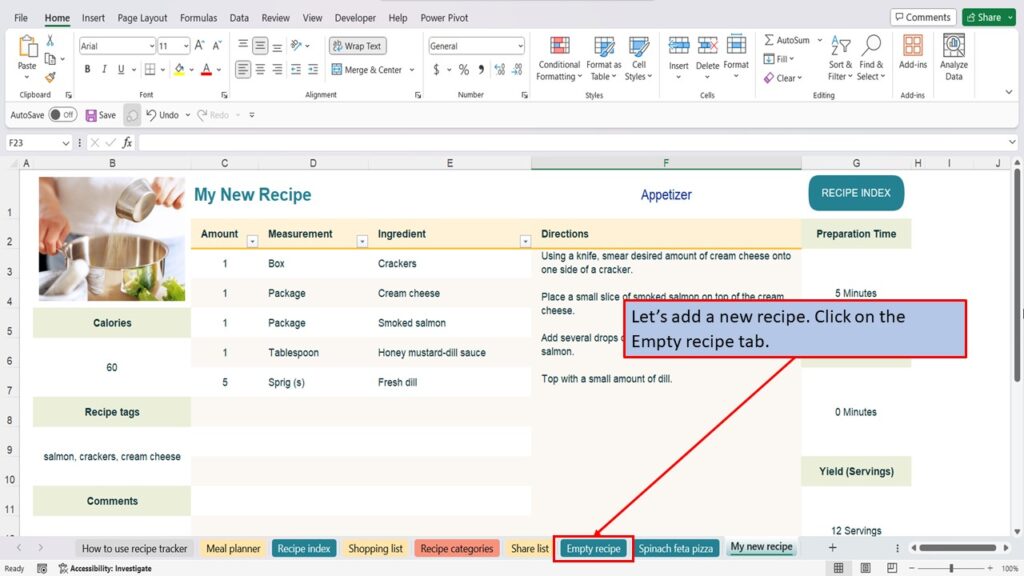
Let’s add a new recipe. Click on the Empty recipe tab.
Click on the top left corner of the page to select the whole page.
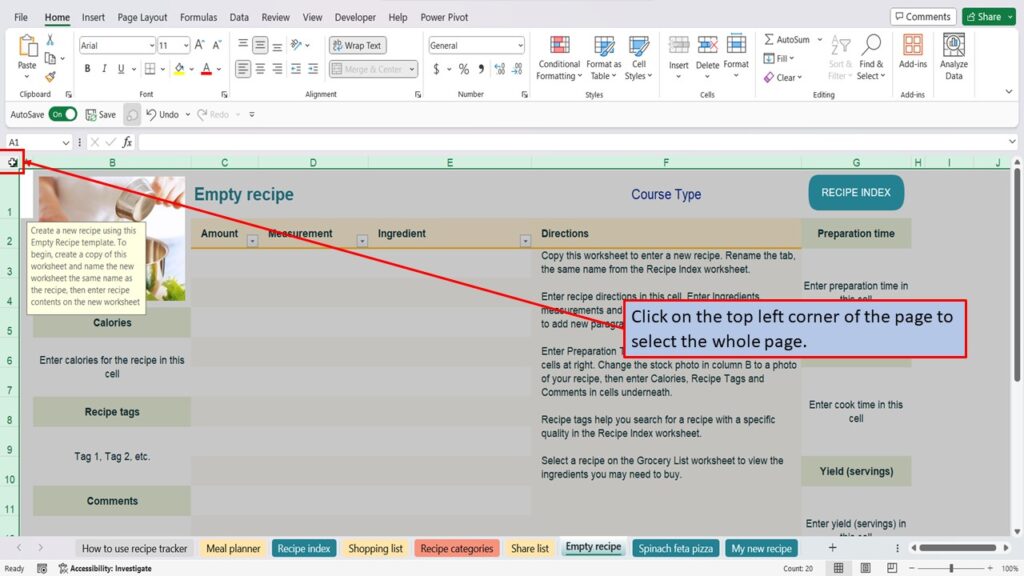
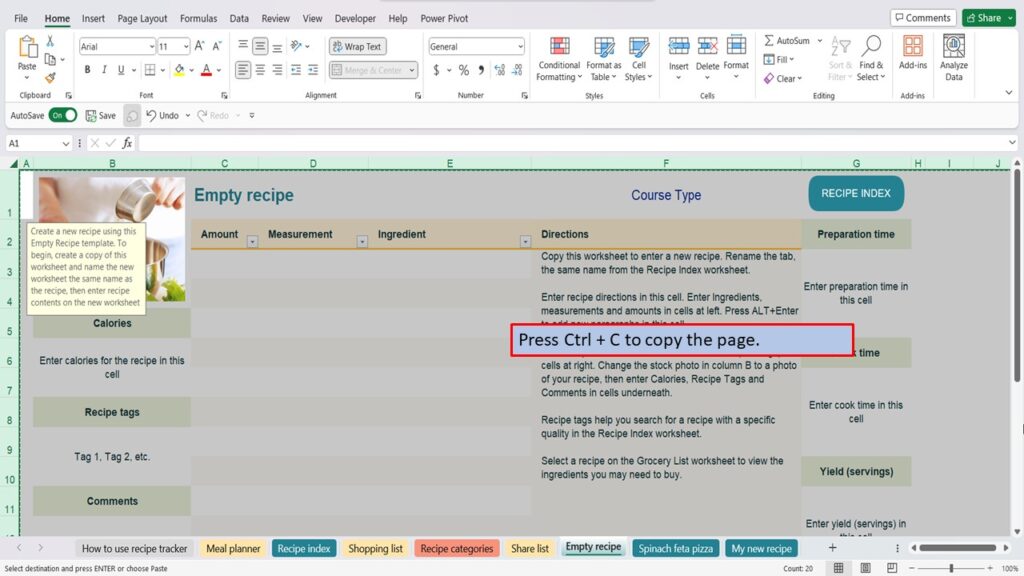
Press Control + C, to copy the page.
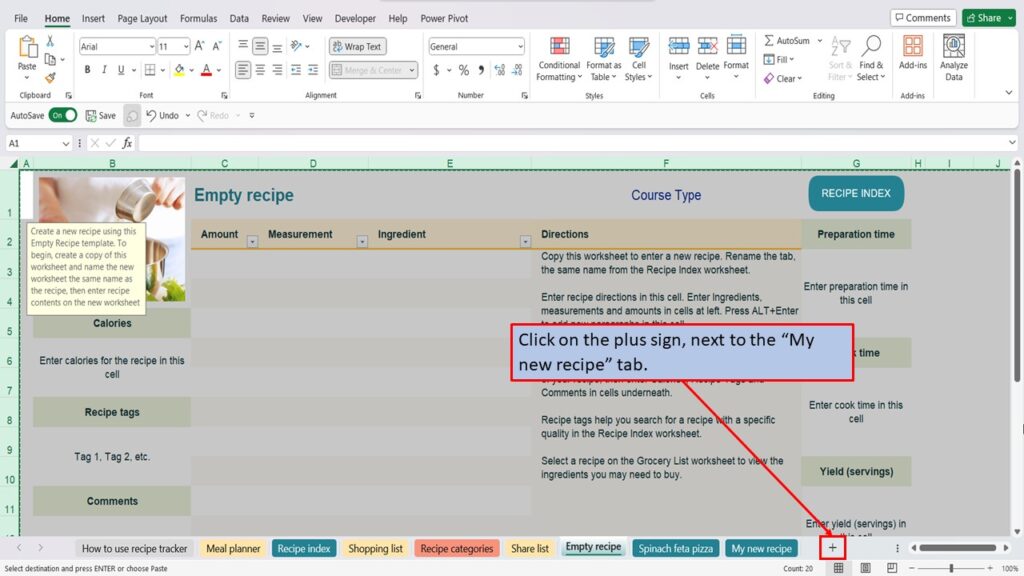
Click on the plus sign, next to the “My new recipe” tab.
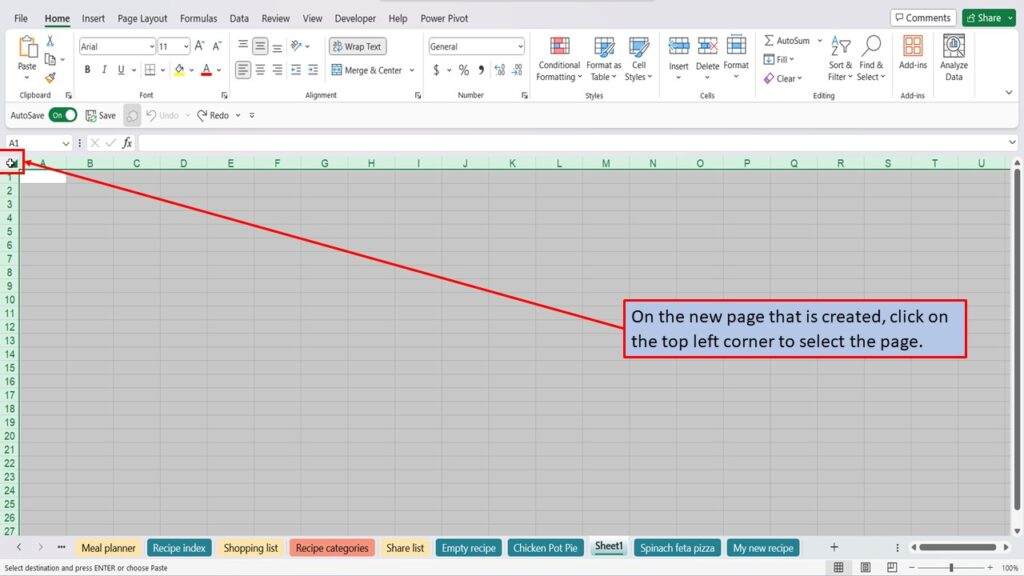
On the new page that is created, click on the top left corner to select the page.
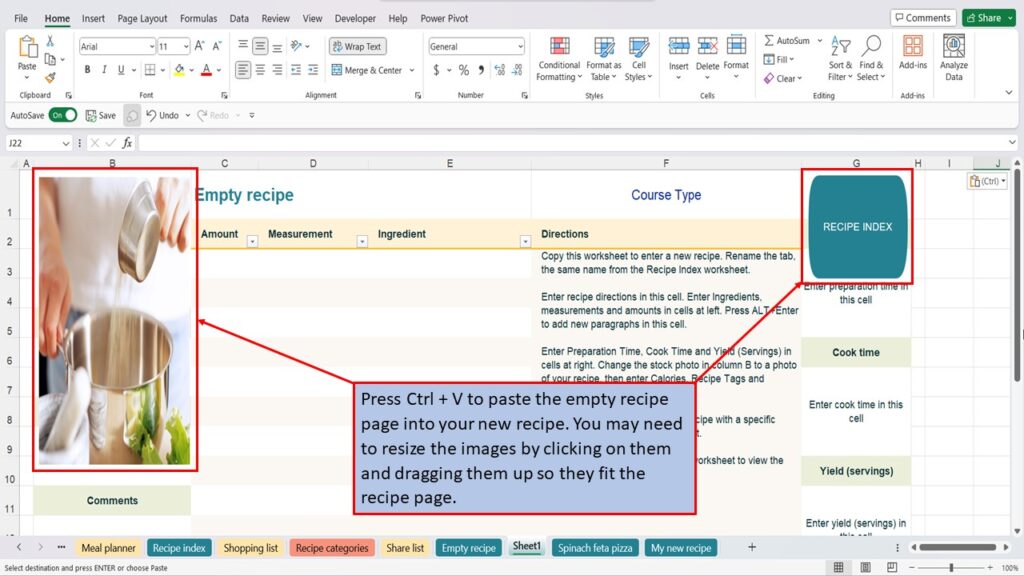
Press Control, + V, to paste the empty recipe page into your new recipe. You may need to resize the images by clicking on them and dragging them up so they fit the recipe page.
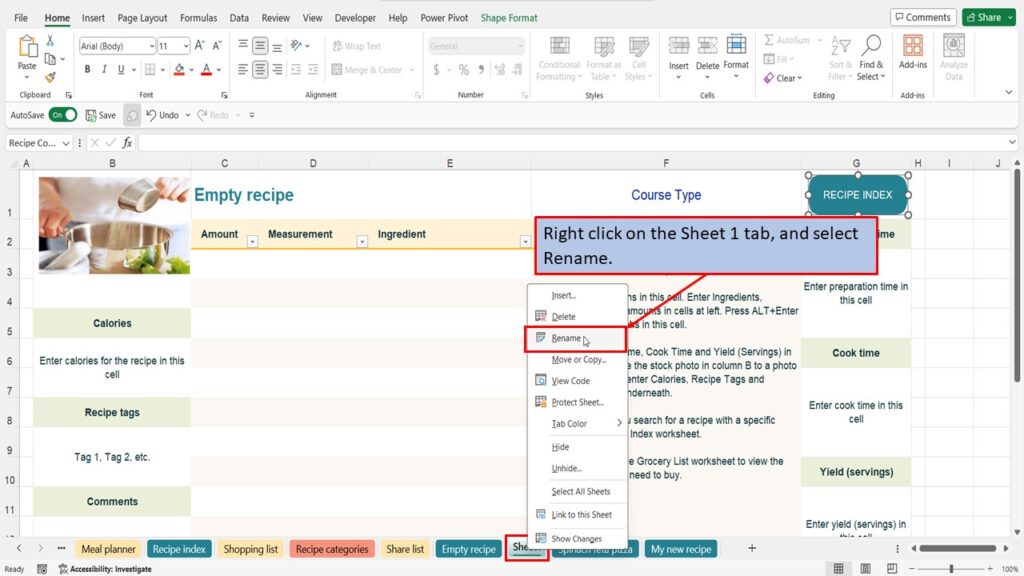
Right click on the Sheet 1 tab, and select Rename.
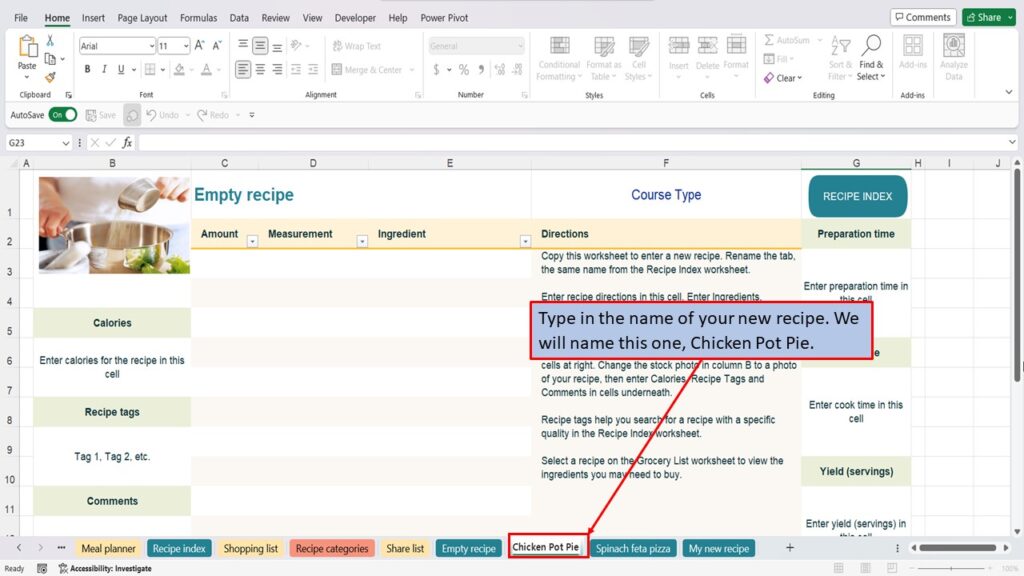
Type in the name of your new recipe. We will name this one, Chicken Pot Pie.
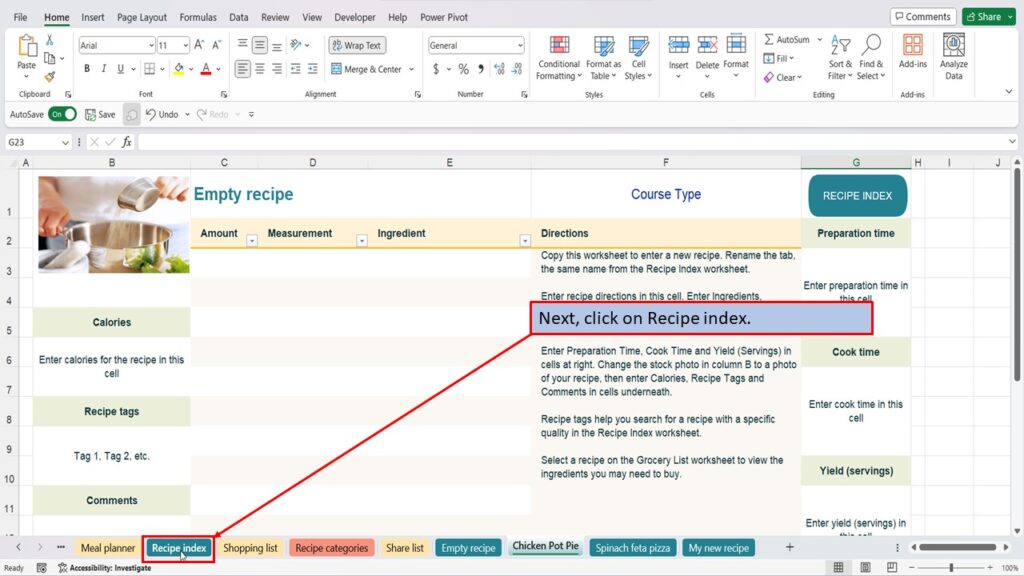
Next, click on Recipe index.
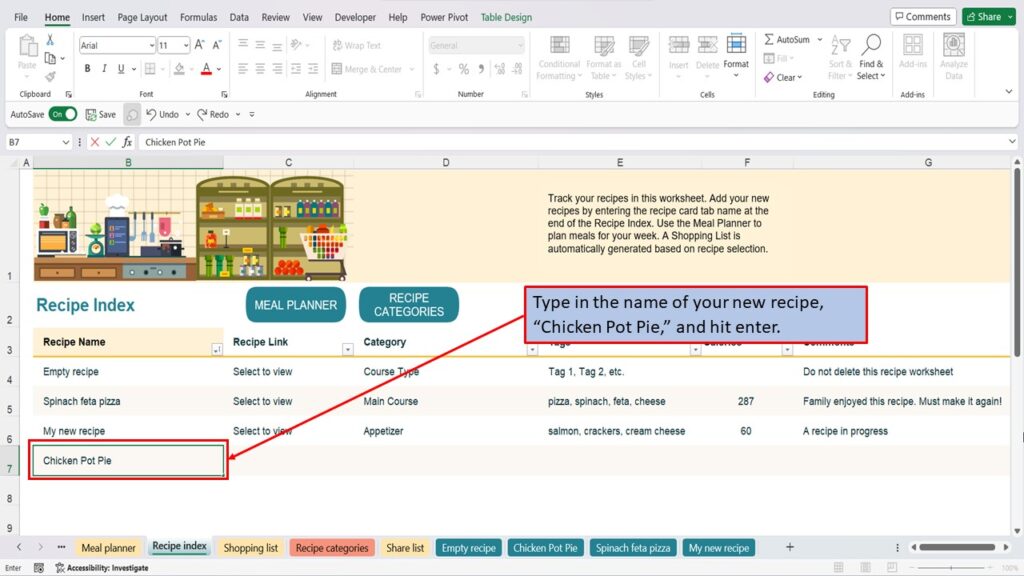
Click on the first empty cell under recipe name.
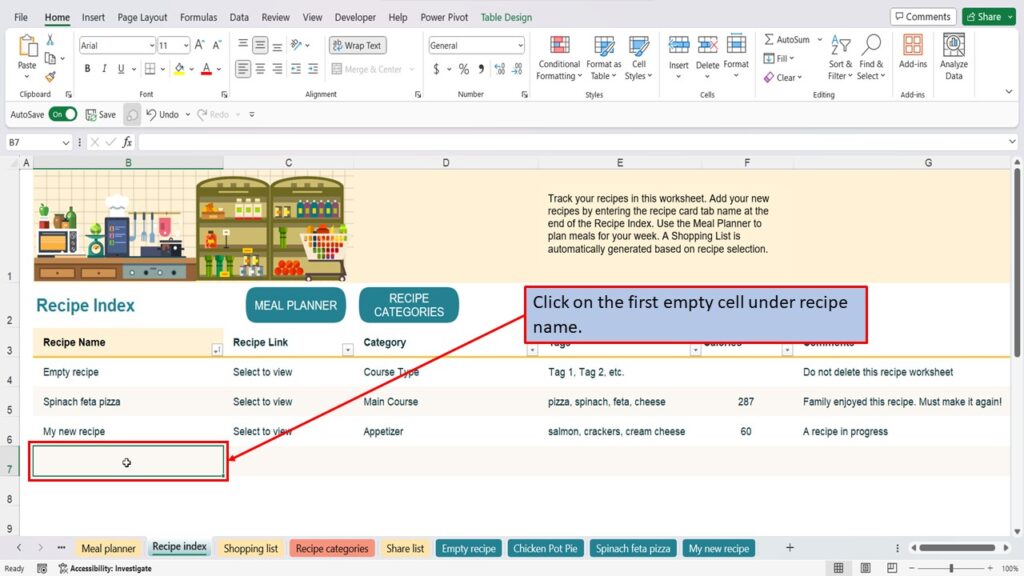
Type in the name of your new recipe, “Chicken Pot Pie,” and hit enter.
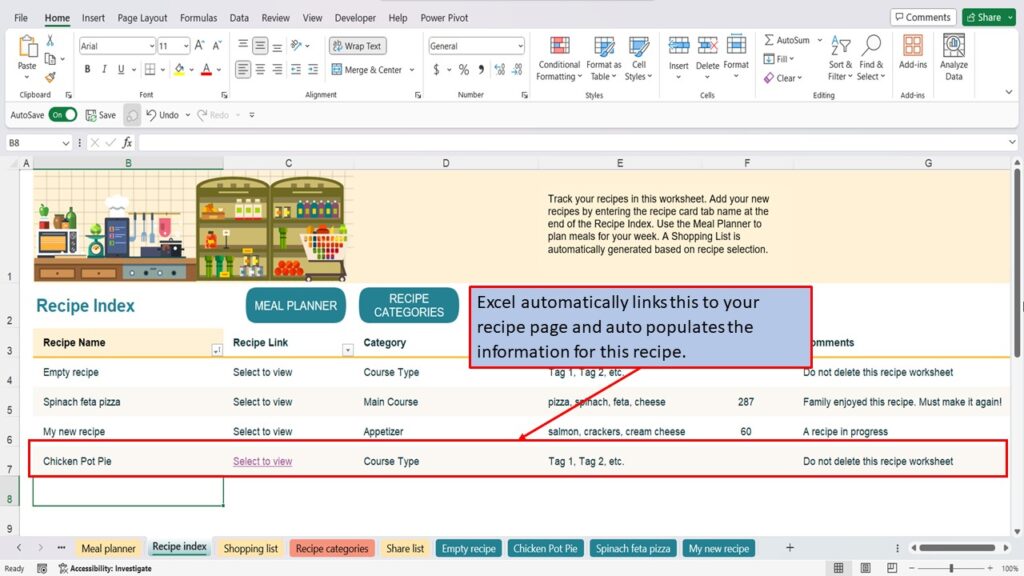
Excel automatically links this to your recipe page and auto populates the information for this recipe.
Need More Help?
View the Video Tutorial.
Download this tutorial in PDF by clicking the Download link below.
Hi, thanks for this tutorial,
I wanted to add more than one meal for each day and copy pasted the meal column a few times and was able to use the copied drop downs to add meals from the index. All was going well until I went to the shopping list page and realised that the shopping list formulas didn’t know to also collect data from the columns I added on the weekly meal plan page.
Do you know how I could edit the formulas on the shopping list page to get them to include extra meals ie add breakfast; lunch; snack; desert for each say rather than just dinner?
I know if it was a sum type formula it would simply have to widen the area for which it added up data but because I cant find how the shopping list page is set up I dont know how to widen the paramenters
Thank you
Hi Elie,
I tested this out before posting the video and everything seemed to be working fine.
Let me look into it and see if I can create the same issue and hopefully come up with a fix.